
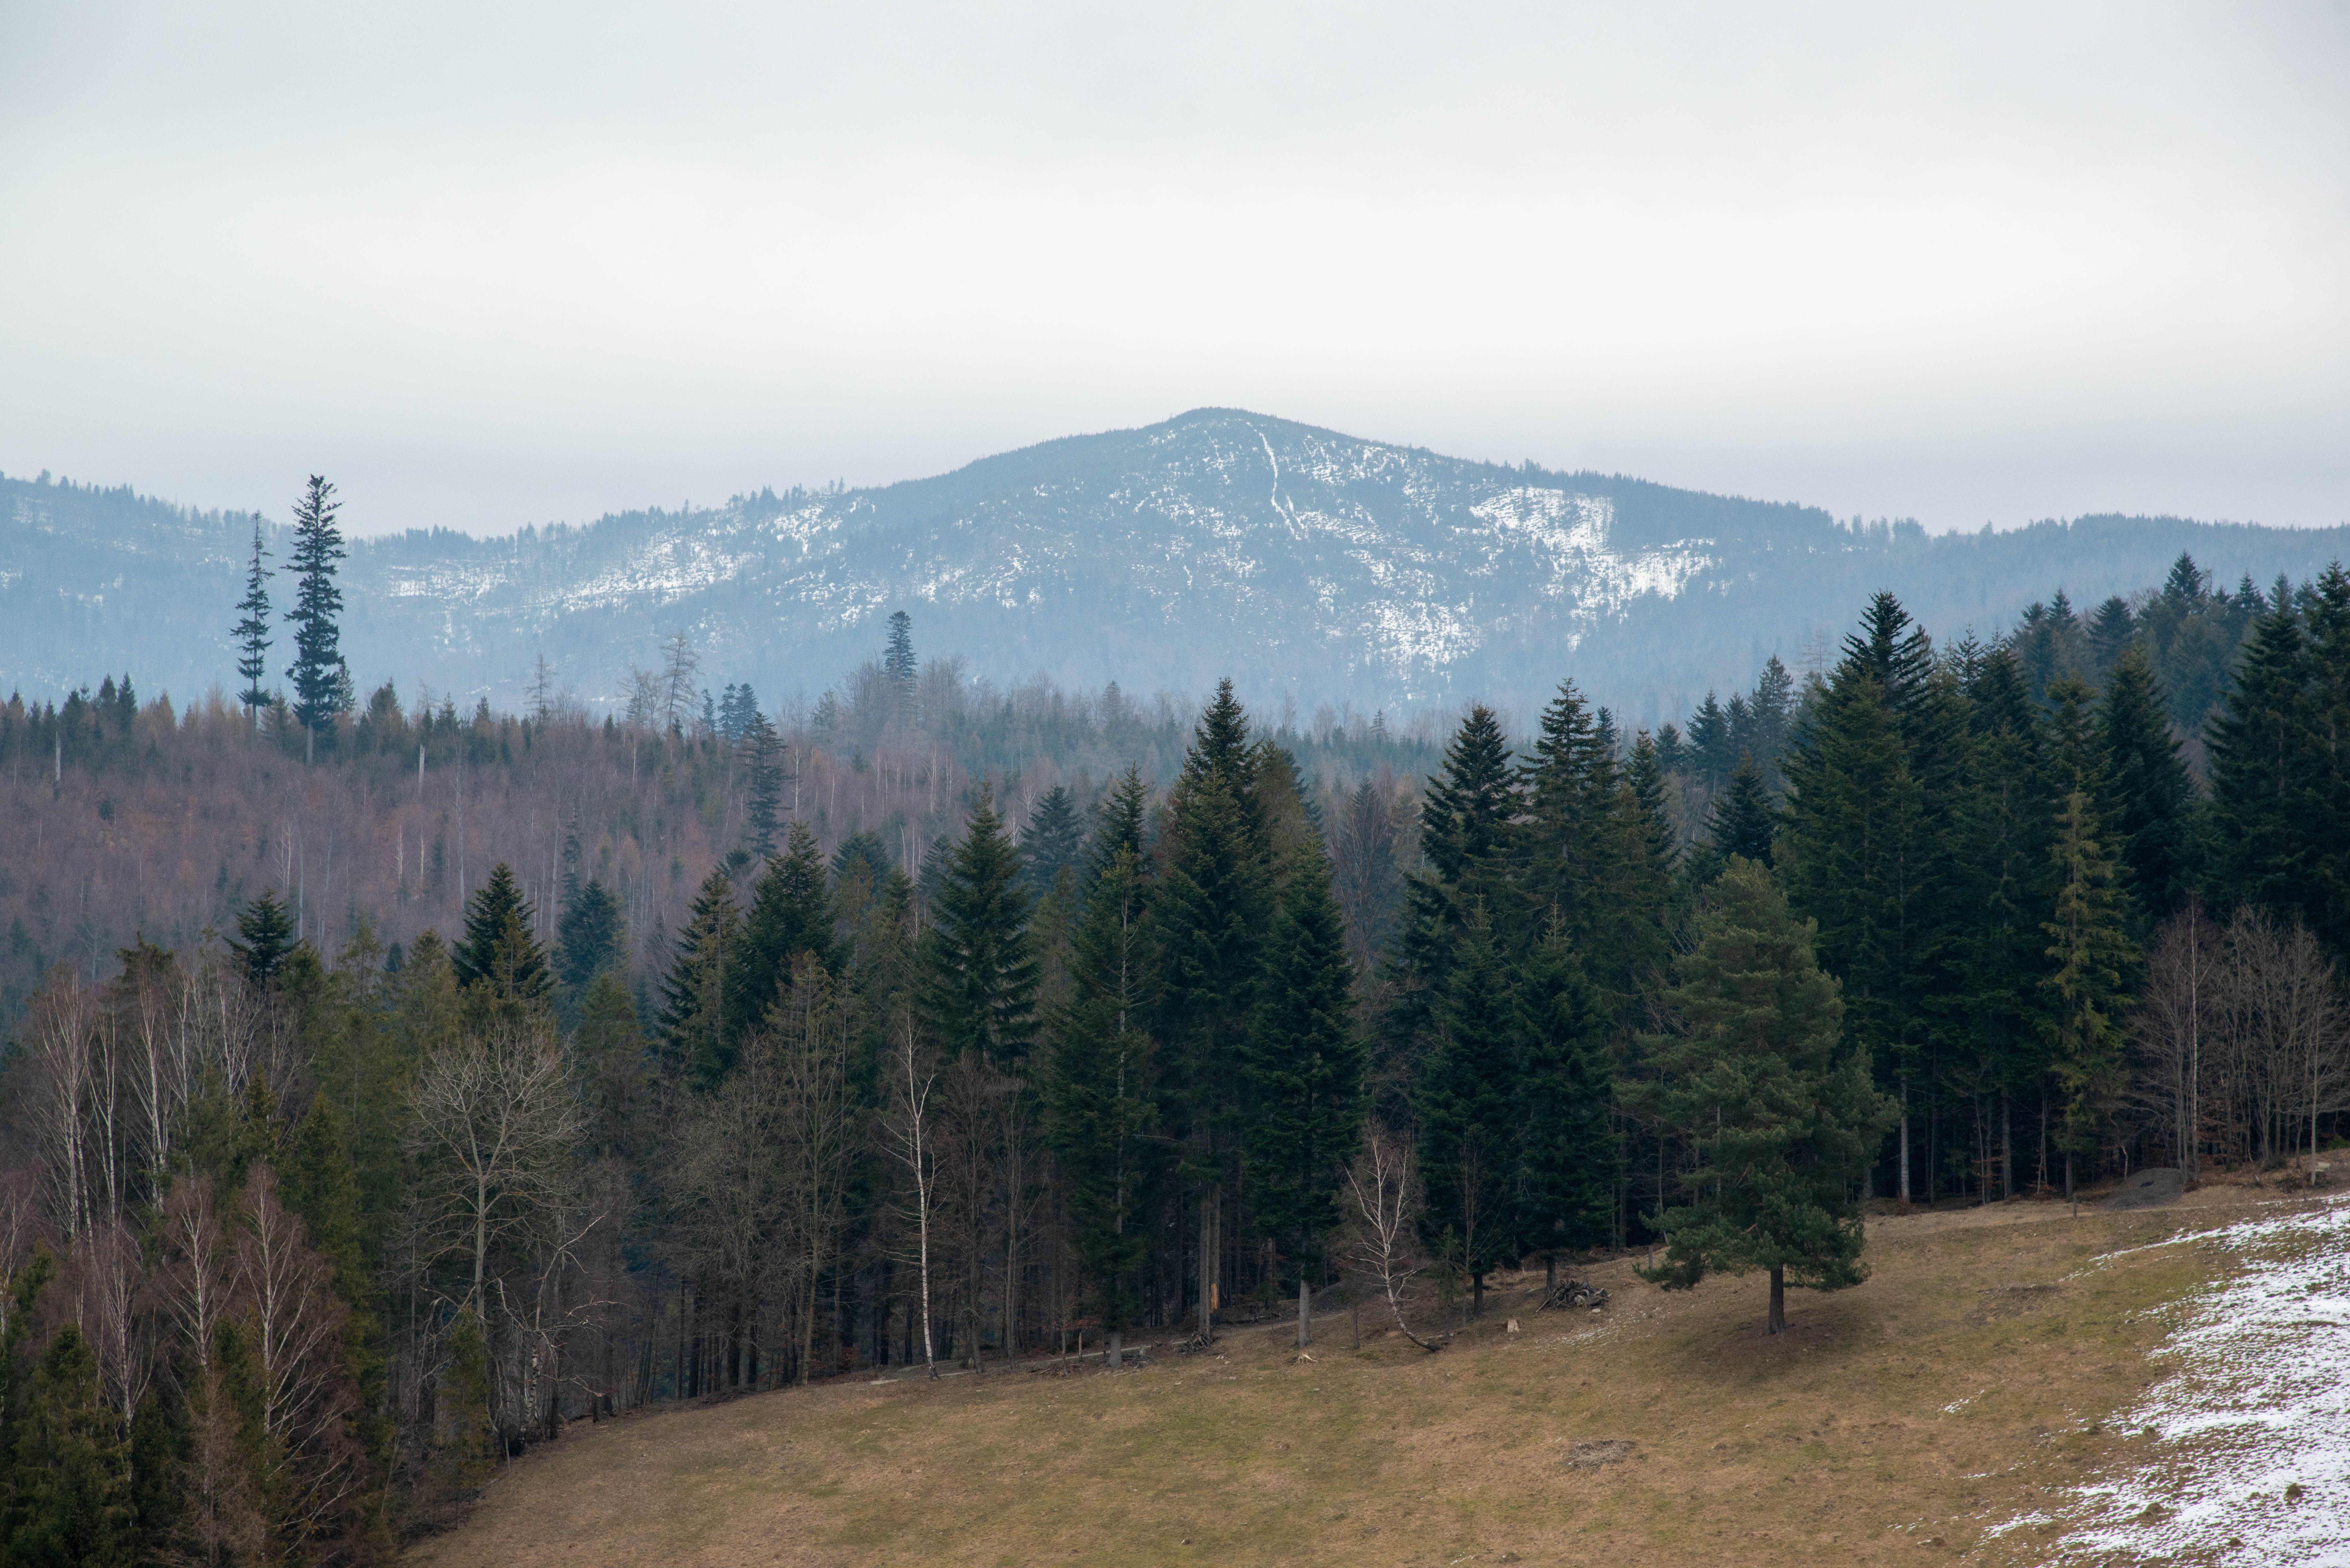
While this RAW file initially looked flat and cold, I saw potential to transform it into a warm winter-to-spring transition scene. My goals? Lift the snow’s subtle textures, reveal hidden details in the trees, and maintain that magical seasonal ‘in-between’ glow—where last winter’s chill gently gives way to spring’s warmth. Here’s my step-by-step edit to achieve that balance.
I. Basic Adjustments in Camera Raw
1. Carving Depth into the Scene
I started by increasing the exposure slightly (+0.3) to brighten the scene. A small contrast boost (+10) added depth, while reducing highlights (-30) helped recover details in the sky. I lifted the shadows (+40) to reveal more in the darker trees and raised the whites (+10) to make the snow stand out. Dropping the blacks a bit (-10) added extra contrast, especially in the forested areas.
I also added some clarity (+15) to bring out the texture in the trees and mountains, and used Dehaze (+10) to cut through the haze around the peaks. These base adjustments helped bring the scene closer to what I remembered seeing.
2. Color Adjustments
Next, I warmed the temperature just a little to improve color contrast between the sky and the snow. Vibrance at +20 helped bring out the natural colors without making them look too intense.
In the HSL panel, I made two small shifts: I moved the greens slightly towards yellow to give the grass and moss a sunnier look, and I desaturated the blues just a bit to avoid harsh cyan shadows in the sky and snow. These tweaks kept the colors balanced while still enhancing the mood.
3. Tone Curve
To give the image a softer finish, I adjusted the tone curve. I gently lifted the shadows to add a slight fade, which gave the image a more natural, film-like feel. Then I added a subtle S-curve to increase contrast without overdoing it. This step isn’t always necessary, but in this case, it added a nice touch of depth and atmosphere.
4. Gradient Filter (Sky)
I wanted the sky to feel deeper, so I opened the Camera Raw Filter and added a gradient from the top. I lowered the exposure and introduced cooler blue tones to make the sky look more dramatic and natural.
II. Photoshop Edits
With the base and color work done, I switched over to Photoshop for some final enhancements.
5. Light Bloom
I duplicated the background layer, applied a Gaussian Blur (around 30 px), set the blend mode to Screen, and reduced the opacity to about 25%. This added a soft glow, especially in the snow and sky. I used a layer mask to control where the effect was visible so it didn’t get too strong.
6. Dodging & Burning
To bring out more light and shadow, I used the Dodge tool on midtones to brighten parts of the snow and sky, and the Burn tool on shadows to darken the forest edges. This added a bit more shape and contrast without making anything look artificial.
7. Selective Color
As a finishing step, I boosted the whites slightly in the snow to define the mountain ridges. I also added a tiny bit of cyan to the sky, which gave the image a colder, more wintry tone.

With the base adjustments in place, I moved on to more refined edits to bring out depth and structure in the photo. This stage was all about helping the mountain stand out, separating the different layers of the landscape, and adding subtle effects that guide the viewer’s eye. Here’s how I finished the image.
III. Finishing Touches and Focal Points
8. Highlighting the Mountain
To help the mountain stand out as the central element of the composition, I began by using the Dodge Tool set to Midtones with 15% exposure. Brushing gently over the snowy ridges helped emphasize the texture and made the highlights pop, especially where the light naturally hits the slopes.
9. Back to Camera Raw
Next, I opened the Camera Raw Filter and applied a Radial Filter around the mountain area. I boosted Clarity (+20) and added a bit of Dehaze (+10), which helped bring out more detail and punch in the central peak.
6. Separating the Layers for Depth
To create more depth and help the eye move through the scene, I worked on three distinct layers: foreground trees, middle trees, and the mountain in the background.
Foreground Trees
The dark trees at the bottom felt a bit too flat, so I used a Curves Adjustment Layer to gently lift the shadows and reveal more detail. Then, with Color Balance, I added just a touch of yellow and red to the midtones, giving the trees a warmer, richer tone that contrasts nicely with the cool snow above.
Middle Trees
To make the middle layer stand out more, I added a soft vignette around the edges using a radial gradient. I also darkened this section slightly with a Gradient Mask in Camera Raw, which subtly boosted contrast and helped separate it from the foreground and background.
Mountain Layer
To enhance atmospheric perspective, I duplicated the mountain layer and applied a Gaussian Blur (1.5 px). This softened the edges slightly and made the transition between layers feel more natural. I also reduced saturation by 8 to simulate the slight color fade you often see with distant objects.
7. Final Touches
As a finishing step, I added another Light Bloom effect to give the snow and sky a soft, dreamy glow. I duplicated the base image, applied a Gaussian Blur (30 px), set the blend mode to Screen, and lowered the opacity to 25%. I masked it so it only affected the brightest areas—mainly the snow and a bit of sky.
Lastly, I sharpened the key details. I duplicated the image, applied a High Pass Filter (2 px Radius), and set the blend mode to Overlay. This added clarity to the mountain and the foreground trees without over-sharpening the entire photo.

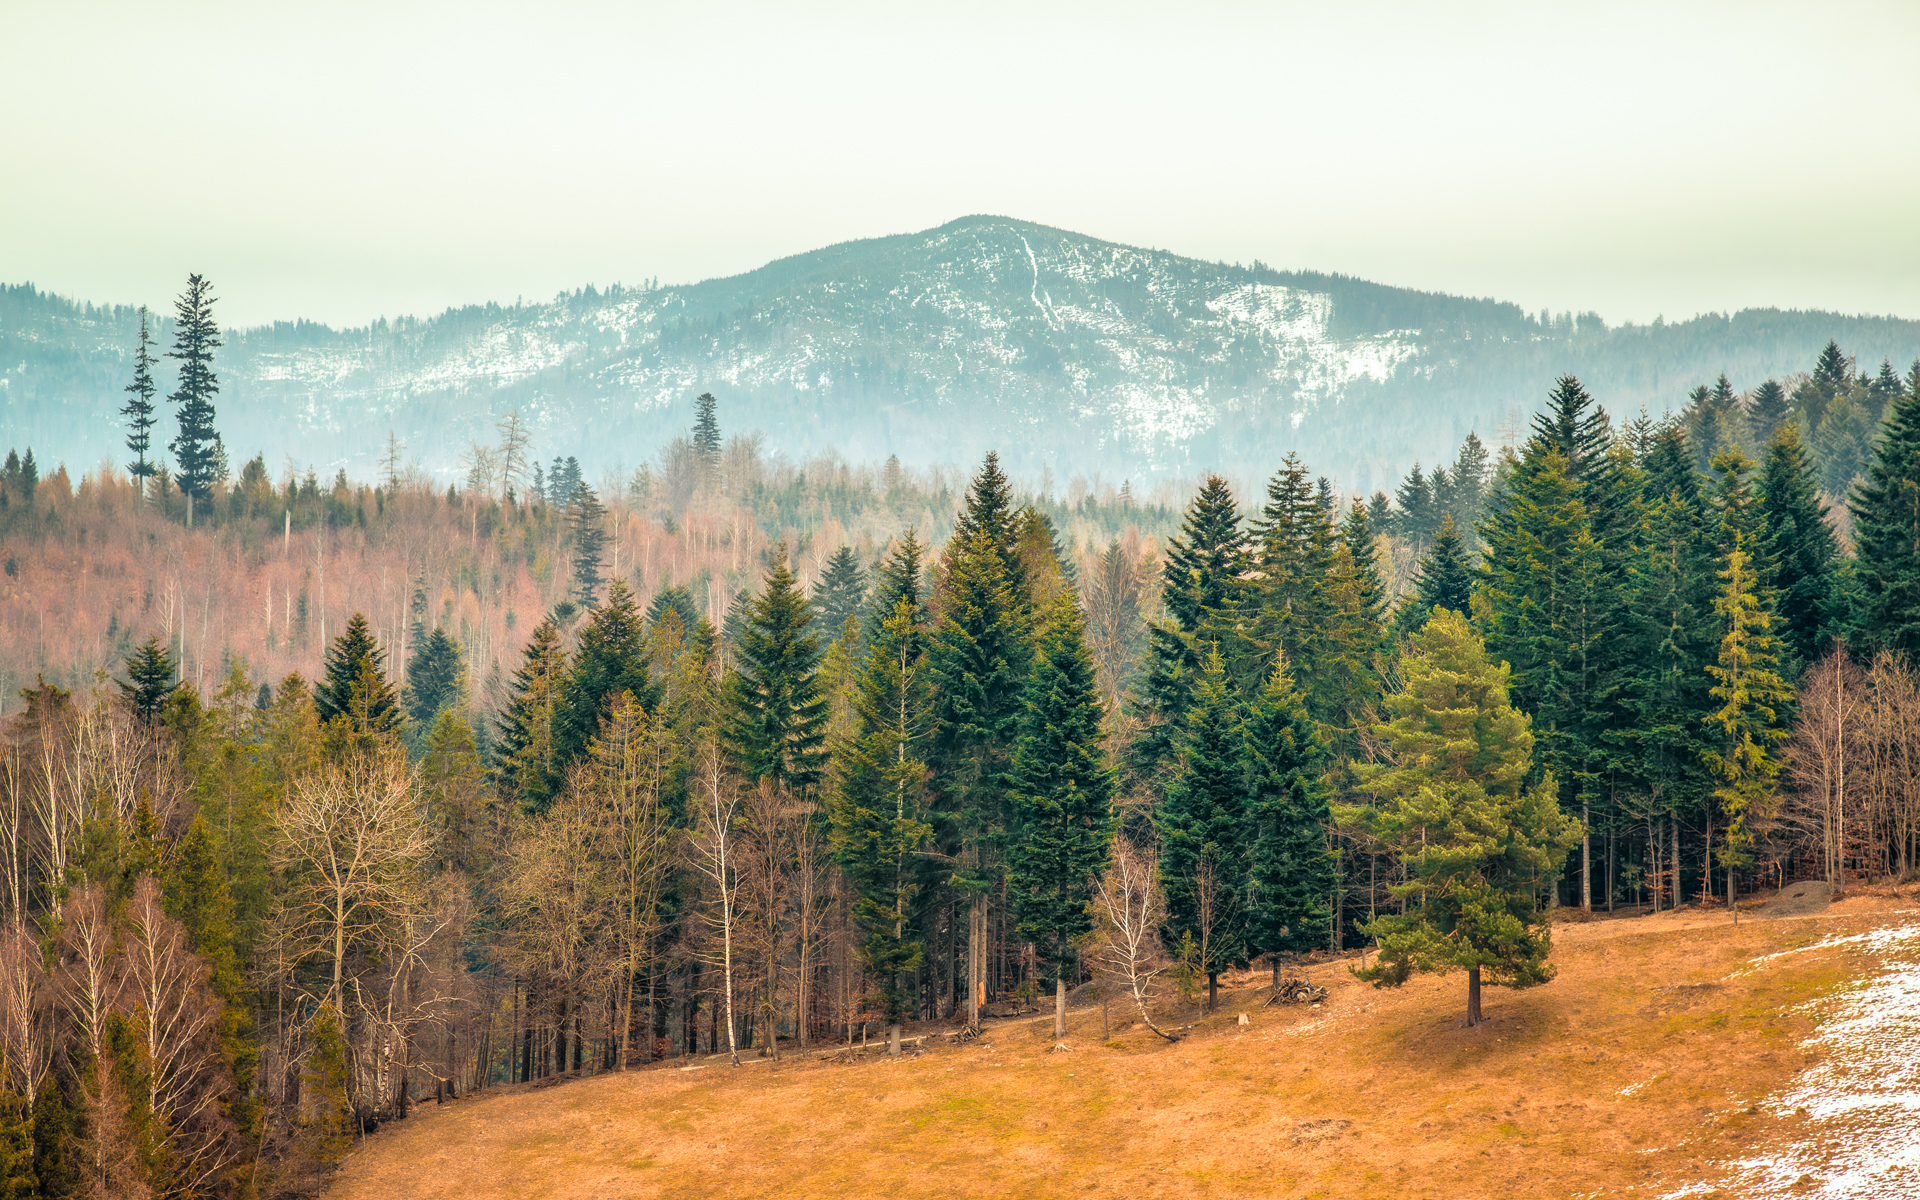
Final Thoughts
This workflow helped me keep the natural feeling of the winter landscape while bringing out more depth, color, and light. It’s all about small adjustments working together—nothing too extreme, just enough to make the image come alive.
What’s your go-to trick for balancing winter tones with spring warmth? Share your favorite editing tip below!️
Discover more from Shutter and Saddle
Subscribe to get the latest posts sent to your email.

2 thoughts on “From Haze to Highlight: My Winter Landscape Workflow”