
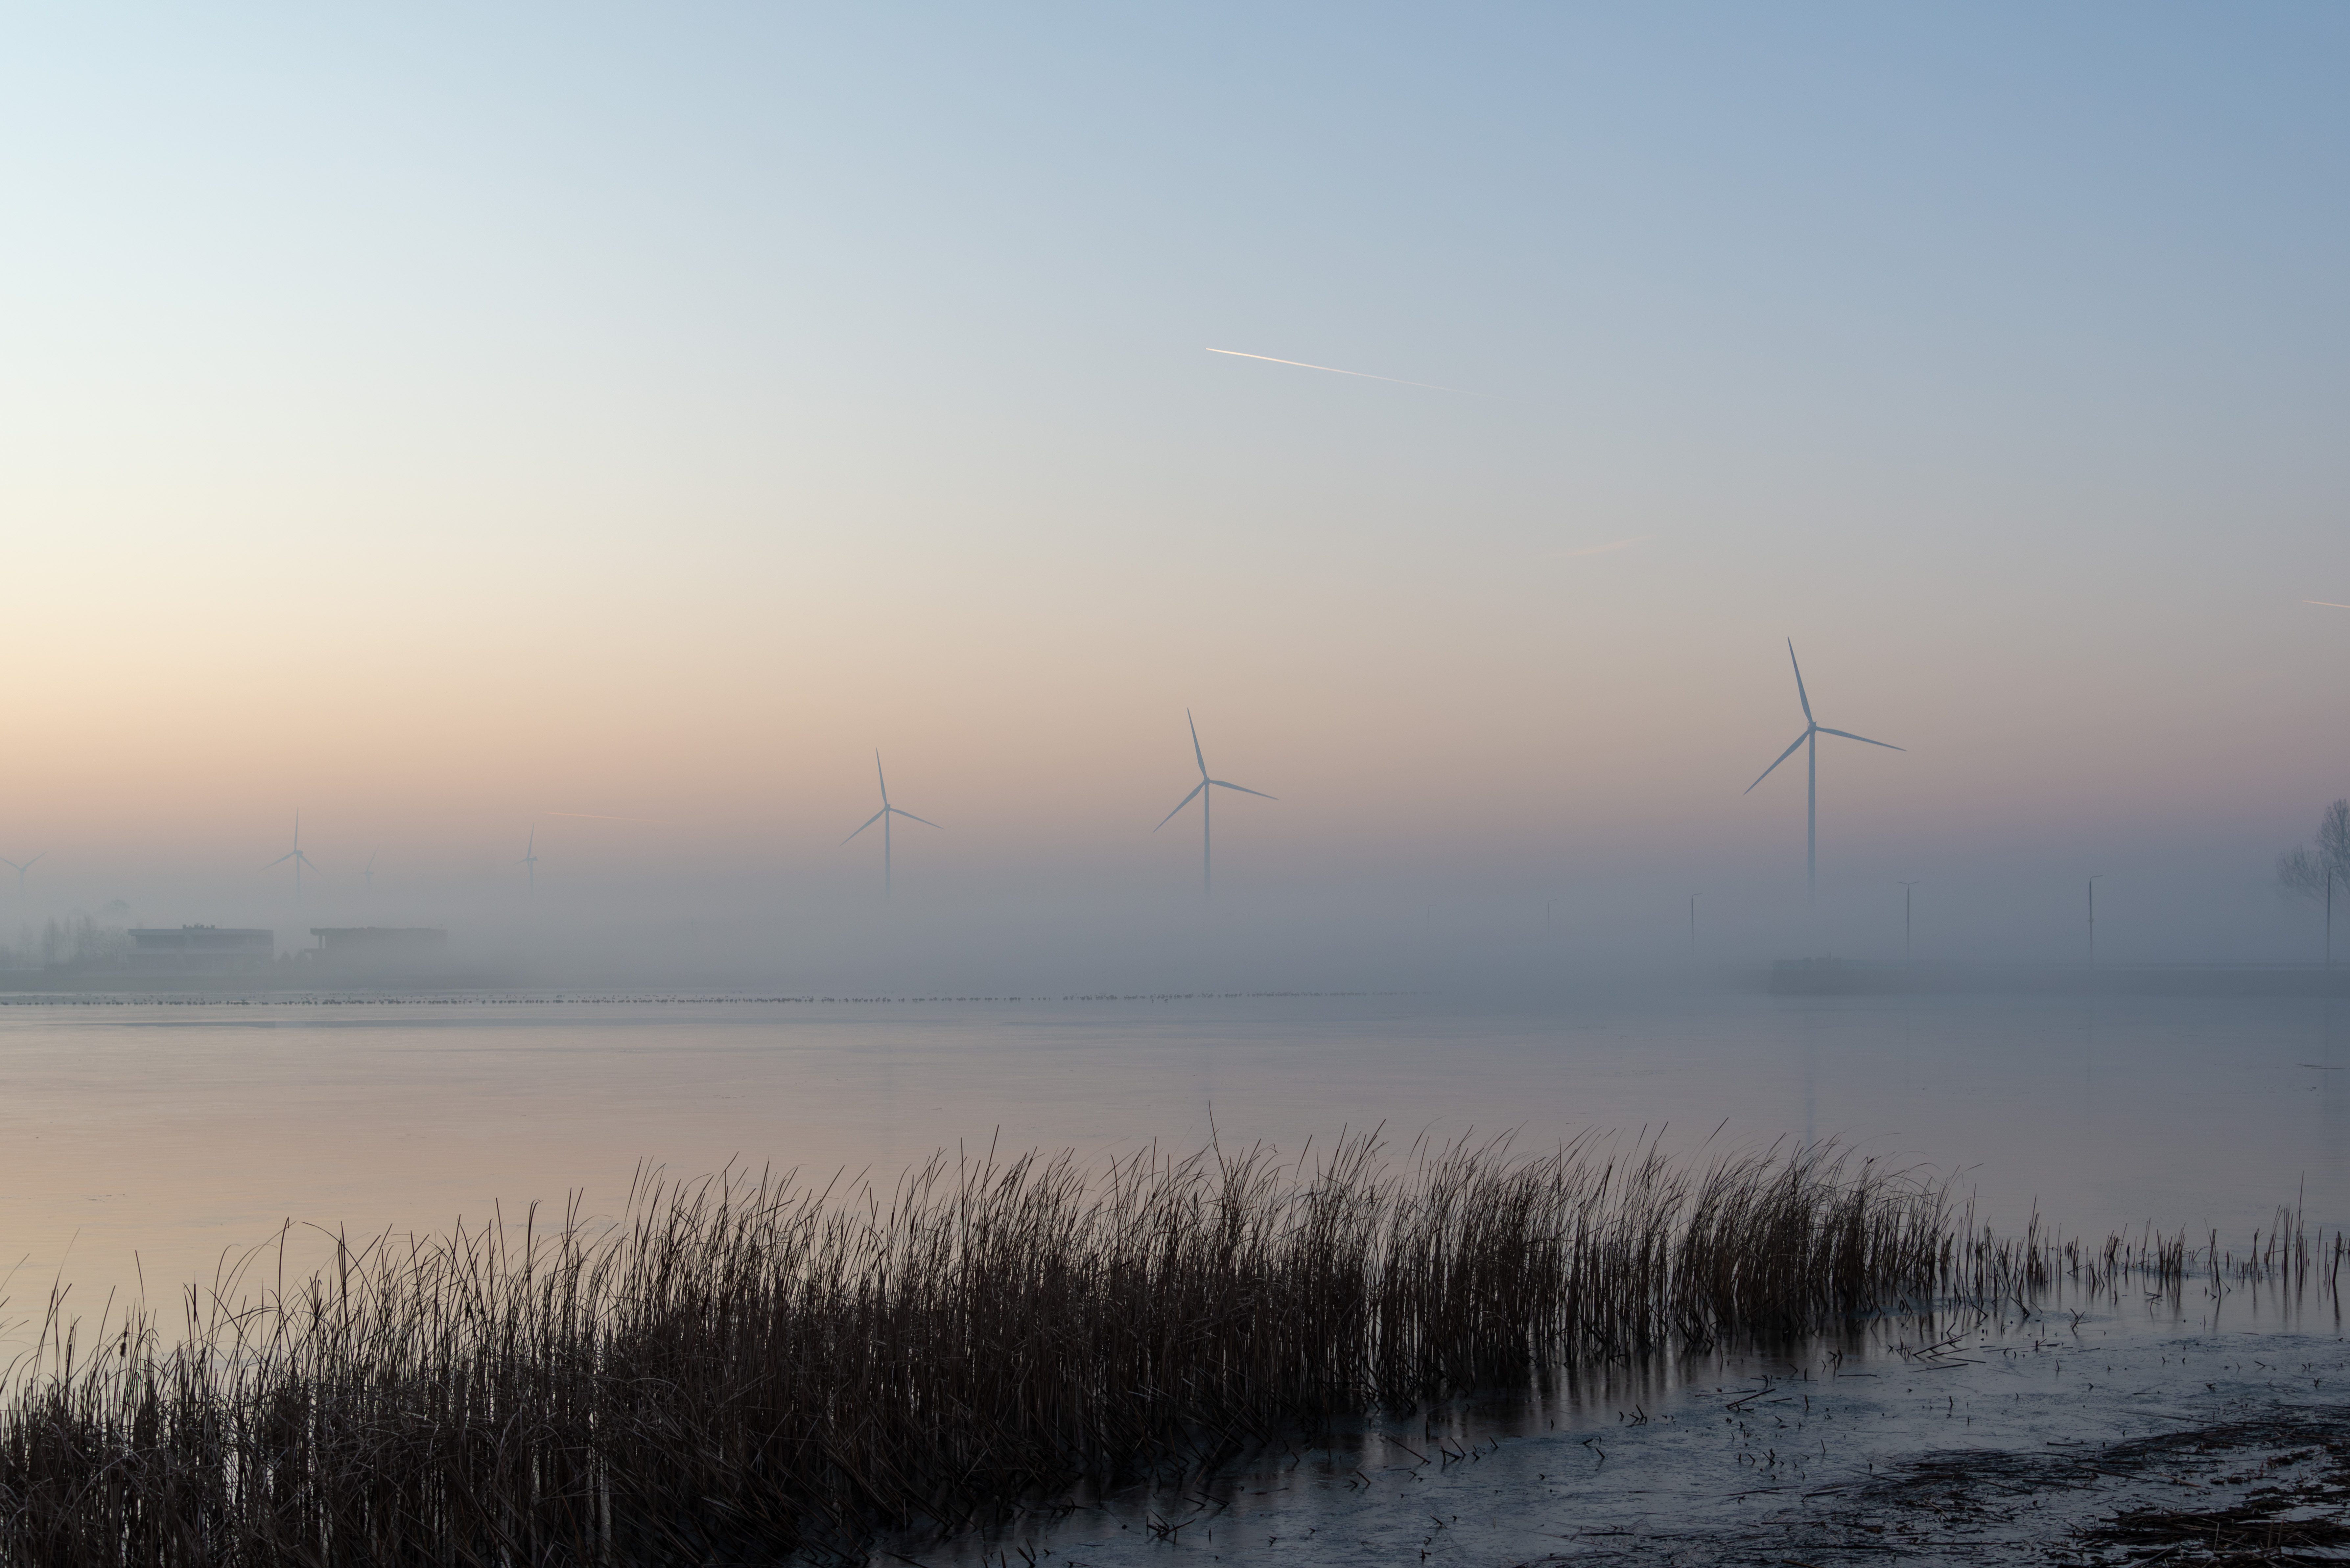
This shot had potential—soft fog, dramatic turbines, and a fading sunset—but it needed careful editing to balance the mood. Here’s how I teased out the magic without losing the atmosphere.
Starting Point: Lightroom Essentials
I began with my standard Lightroom prep—auto adjustments as a baseline—letting AI handle the heavy lifting—then cleaning up minor distractions and slight cropping. (For the full step-by-step, see my Lightroom Preparation Workflow).
I. Camera Raw
1. Warming Up the Scene
The raw file felt too cold for the golden-hour vibe I remembered. A subtle temperature bump (+8) and tint shift (+5) brought back the sunset’s warmth while preserving the fog’s softness.
2. Lifting the Fog (But Just Enough)
I wanted the turbines to emerge from the mist—not obliterate it. A tiny exposure boost (+0.2) and shadow lift (+20) revealed the reeds, while highlights (-25) saved the sky from blowing out. Finally whites +10 gave the sky and turbines a subtle glow, while blacks -15 enhanced depth in the foreground reeds.
3. Texture Tricks
Texture (+15) made the reeds and turbine blades ‘scratchable,’ while Dehaze (+5) acted like a gentle wind clearing the fog around the structures. Clarity +10 made the fog and turbines slightly more defined.
⚠️ Watch Out: Overdoing Dehaze kills the mystery.
4. Color Grading: Sunset Alchemy
The secret to that ‘golden hour glow’? Warm highlight (Hue 50) and cool shadows (Hue 220)—a contrast that makes the sky feel luminous.
🎨 Pro Tip: Use the color wheel visual to show the complementary hues.
5. Graduated Filters: Directing the Eye
I ‘painted’ the sky with a warm gradient (+10 Temp, -15 Highlights) and darkened the foreground reeds (+15 Shadows, +10 Texture & Clarity) to frame the turbines like a stage.
6. Radial Filter: Spotlight Effect
A soft vignette around the turbines (Clarity +10, Exposure +0.1, Whites +5) made them the heroes of the frame.
⚡ Pro Tip: Avoid stacking radial filters—it creates unnatural halos. One subtle adjustment is enough.
II. Photoshop: The Magic Touch
7. Dodge & Burn – Sculpting Light
I ‘painted’ light onto the turbines (Dodge: Highlights, 10%) and deepened shadows in the reeds (Burn: Shadows, 8%) to mimic how sunlight slices through fog.
8. Fog Glow – Optional Atmosphere
For extra drama, I added a warm haze (#FFDAB9) around the turbines (Soft Light, 35% opacity). This trick replicates how light scatters in humid air—ideal for dreamy edits.
🎨 Color Hack: Sampling the sunset’s hue keeps the glow natural.
9. Sharpening – Precision Matters
High Pass sharpening (Radius 1.5 px, Overlay blend mode) crisped the turbines’ edges. I masked out the fog to avoid amplifying noise where softness was key.
At this stage, the photo had a beautiful softness to it—all misty pastels and dreamy atmosphere—but needed just a touch more vitality. The challenge? Boosting contrast and vibrance strategically to add depth without sacrificing that ethereal quality.
III. Breathing Life into the Scene
10. Contrast: A Gentle Hand
I nudged global contrast (+10), brightening the highlights (+5 Whites) and deepening the shadows (-5 Blacks) just enough to carve out dimension. Then, with a targeted brush, I painted clarity (+20) and dehaze (+10) onto the turbines and reeds, letting them emerge from the mist.
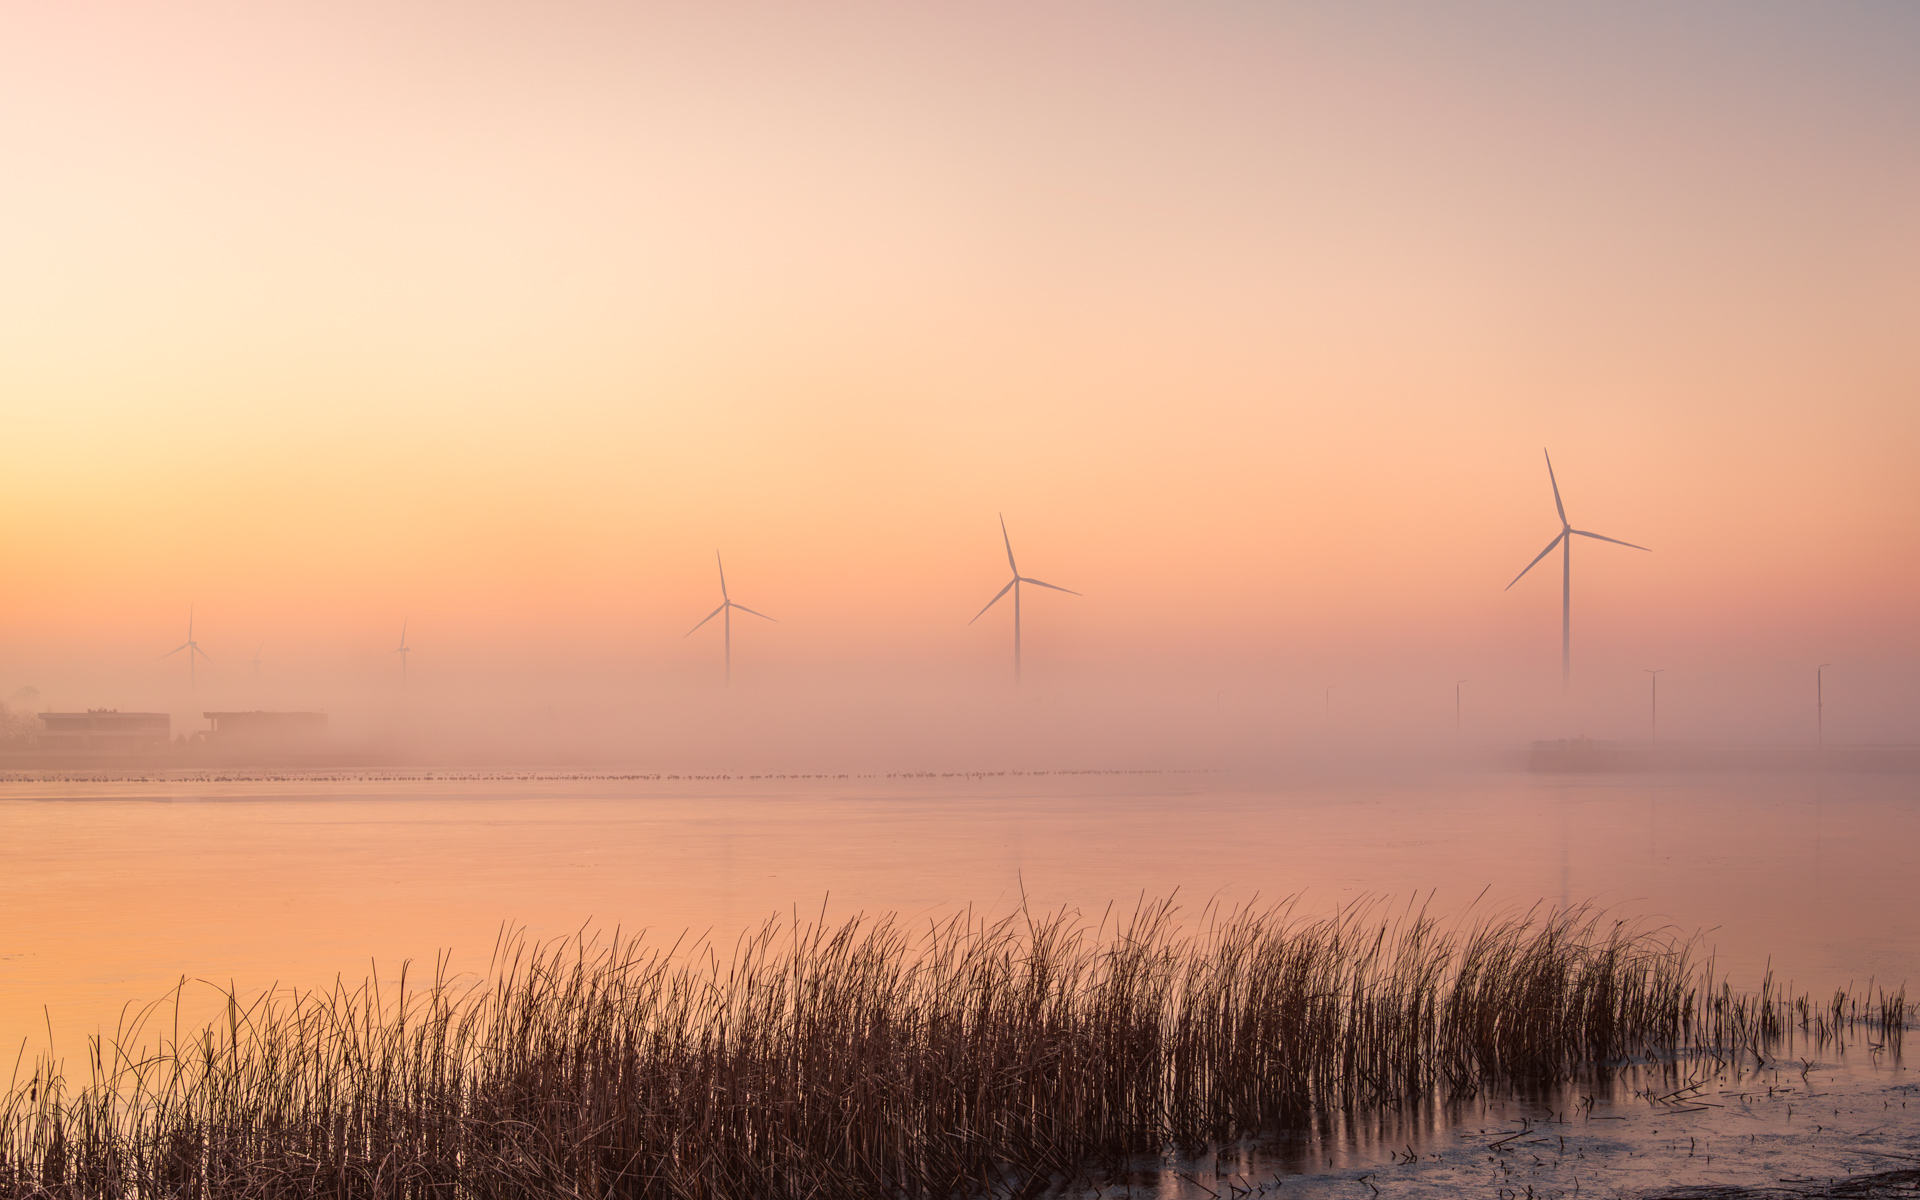
2. Color: A Subtle Warm Embrace
Vibrance (+15) and saturation (+5) gently teased out the sunset’s blush. Then I boosted orange saturation (+10) to warm the turbines’ metallic tones, while increasing blue saturation (+10) deepened the sky. This created richer contrast but maintained the image’s soft atmosphere.
3. Fog Glow: The Final Enchantment
With a soft white brush (15% opacity), I dabbed haze around the turbines, set the blend mode to Soft Light (40%). It was the photo’s ‘halo effect’—subtle enough to feel real, like light scattering through morning mist.
4. Back to Lightroom and final steps—cropping and Vignette
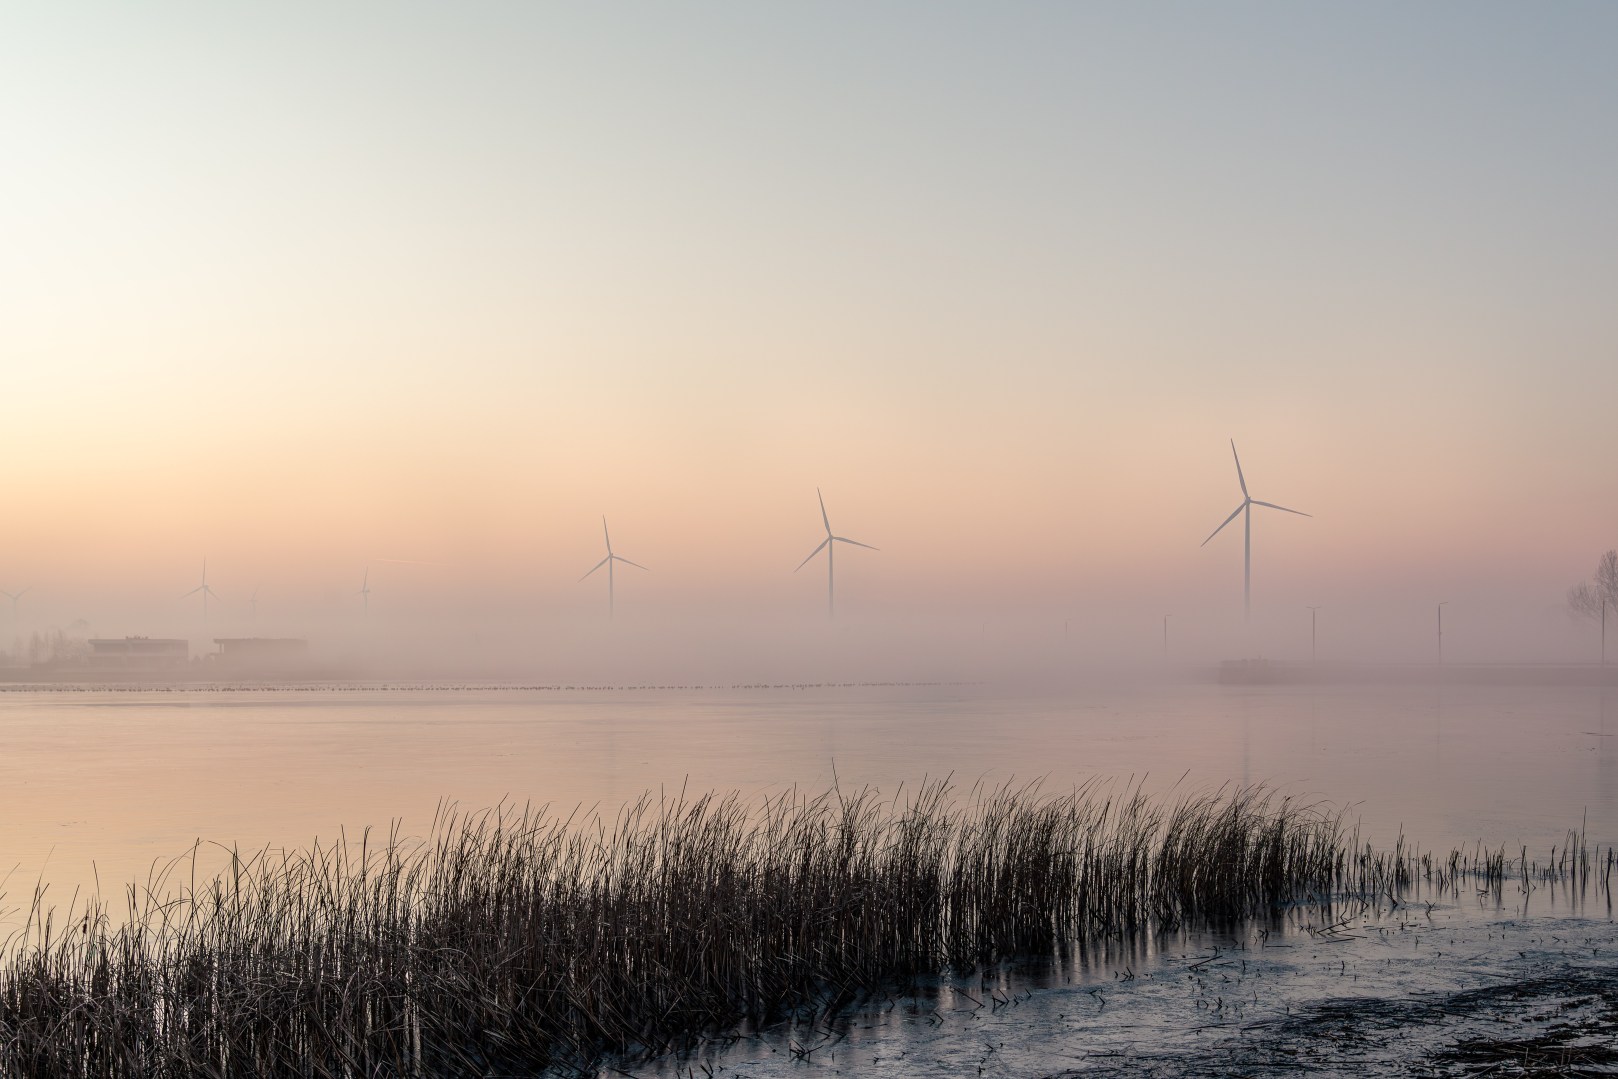
I applied a subtle vignette (-10 Amount, 70 Feather) – just enough to gently frame the scene. For perfect balance, I cropped away excess empty sky and aligned the horizon along the lower third, letting the turbines command attention where they belonged.
⚠️ Warning: Over-vignetting screams ‘amateur.’ Keep it under -15.

Want to see how this misty morning shot came to life? Read the full story behind this photo in: Wind Turbines in the Morning Mist.
Would you edit this shot differently? Tell me in the comments!️
Discover more from Shutter and Saddle
Subscribe to get the latest posts sent to your email.

Good tutorial. I use Lightroom almost exclusively. It sure has made a big difference 🙂
LikeLiked by 1 person
Thanks! I used to work exclusively in Lightroom too, but recently discovered you can do the same edits in Camera Raw (Photoshop) and then keep working on layers in the same file. It’s been a game-changer for flexibility! Happy editing. 😊
LikeLike