

Small regional air shows offer something the big events can’t — intimacy. No jostling crowds, no distant specks in the sky — just the raw sound of engines up close, the chance to chat with pilots, and the freedom to experiment with your photography.
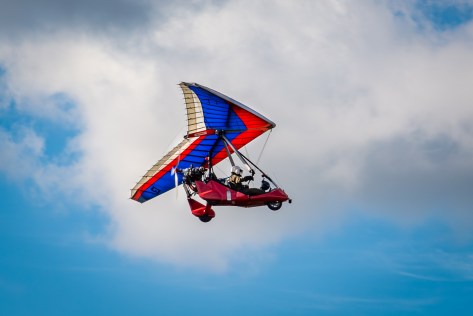
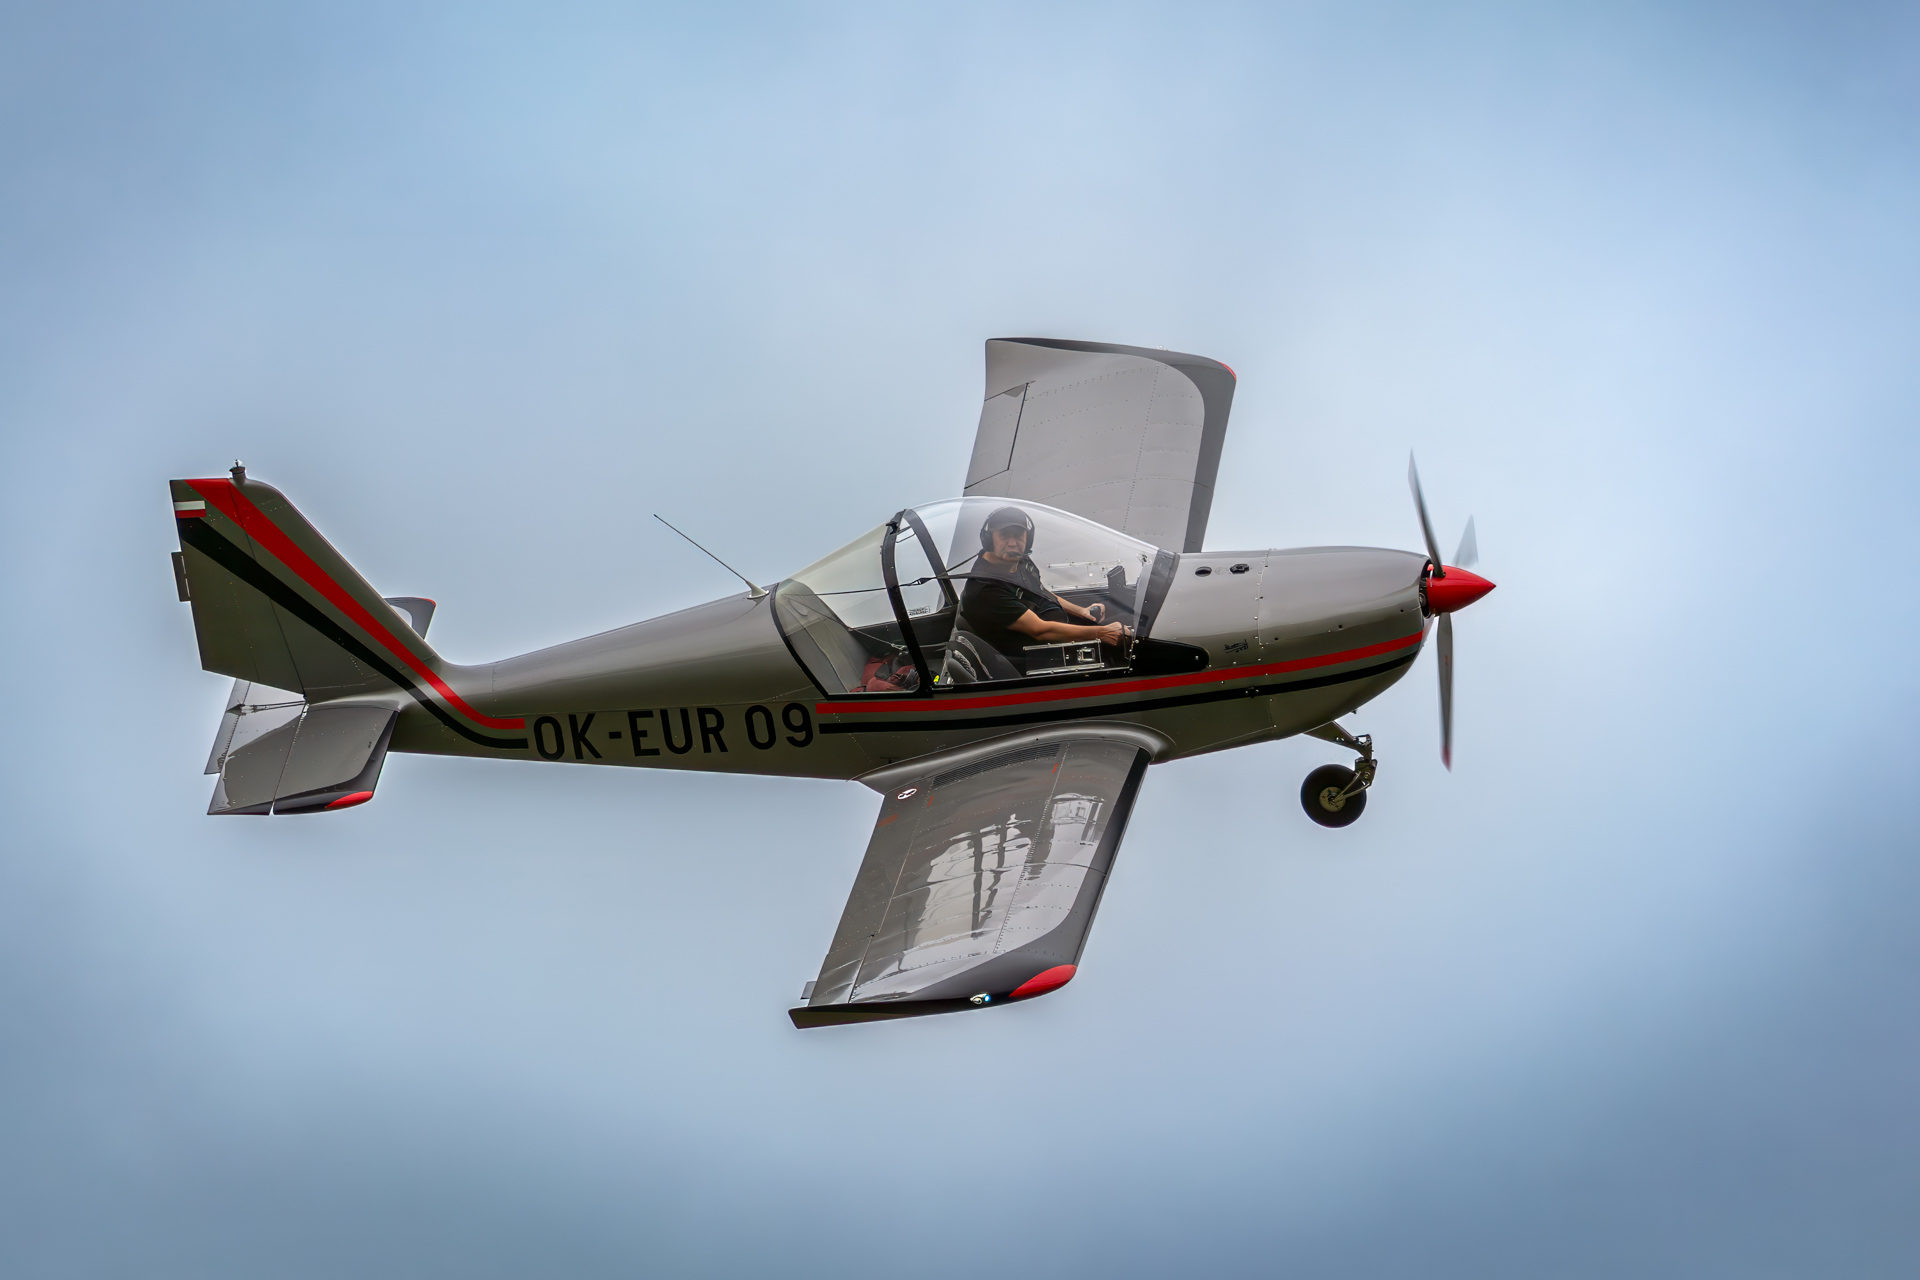
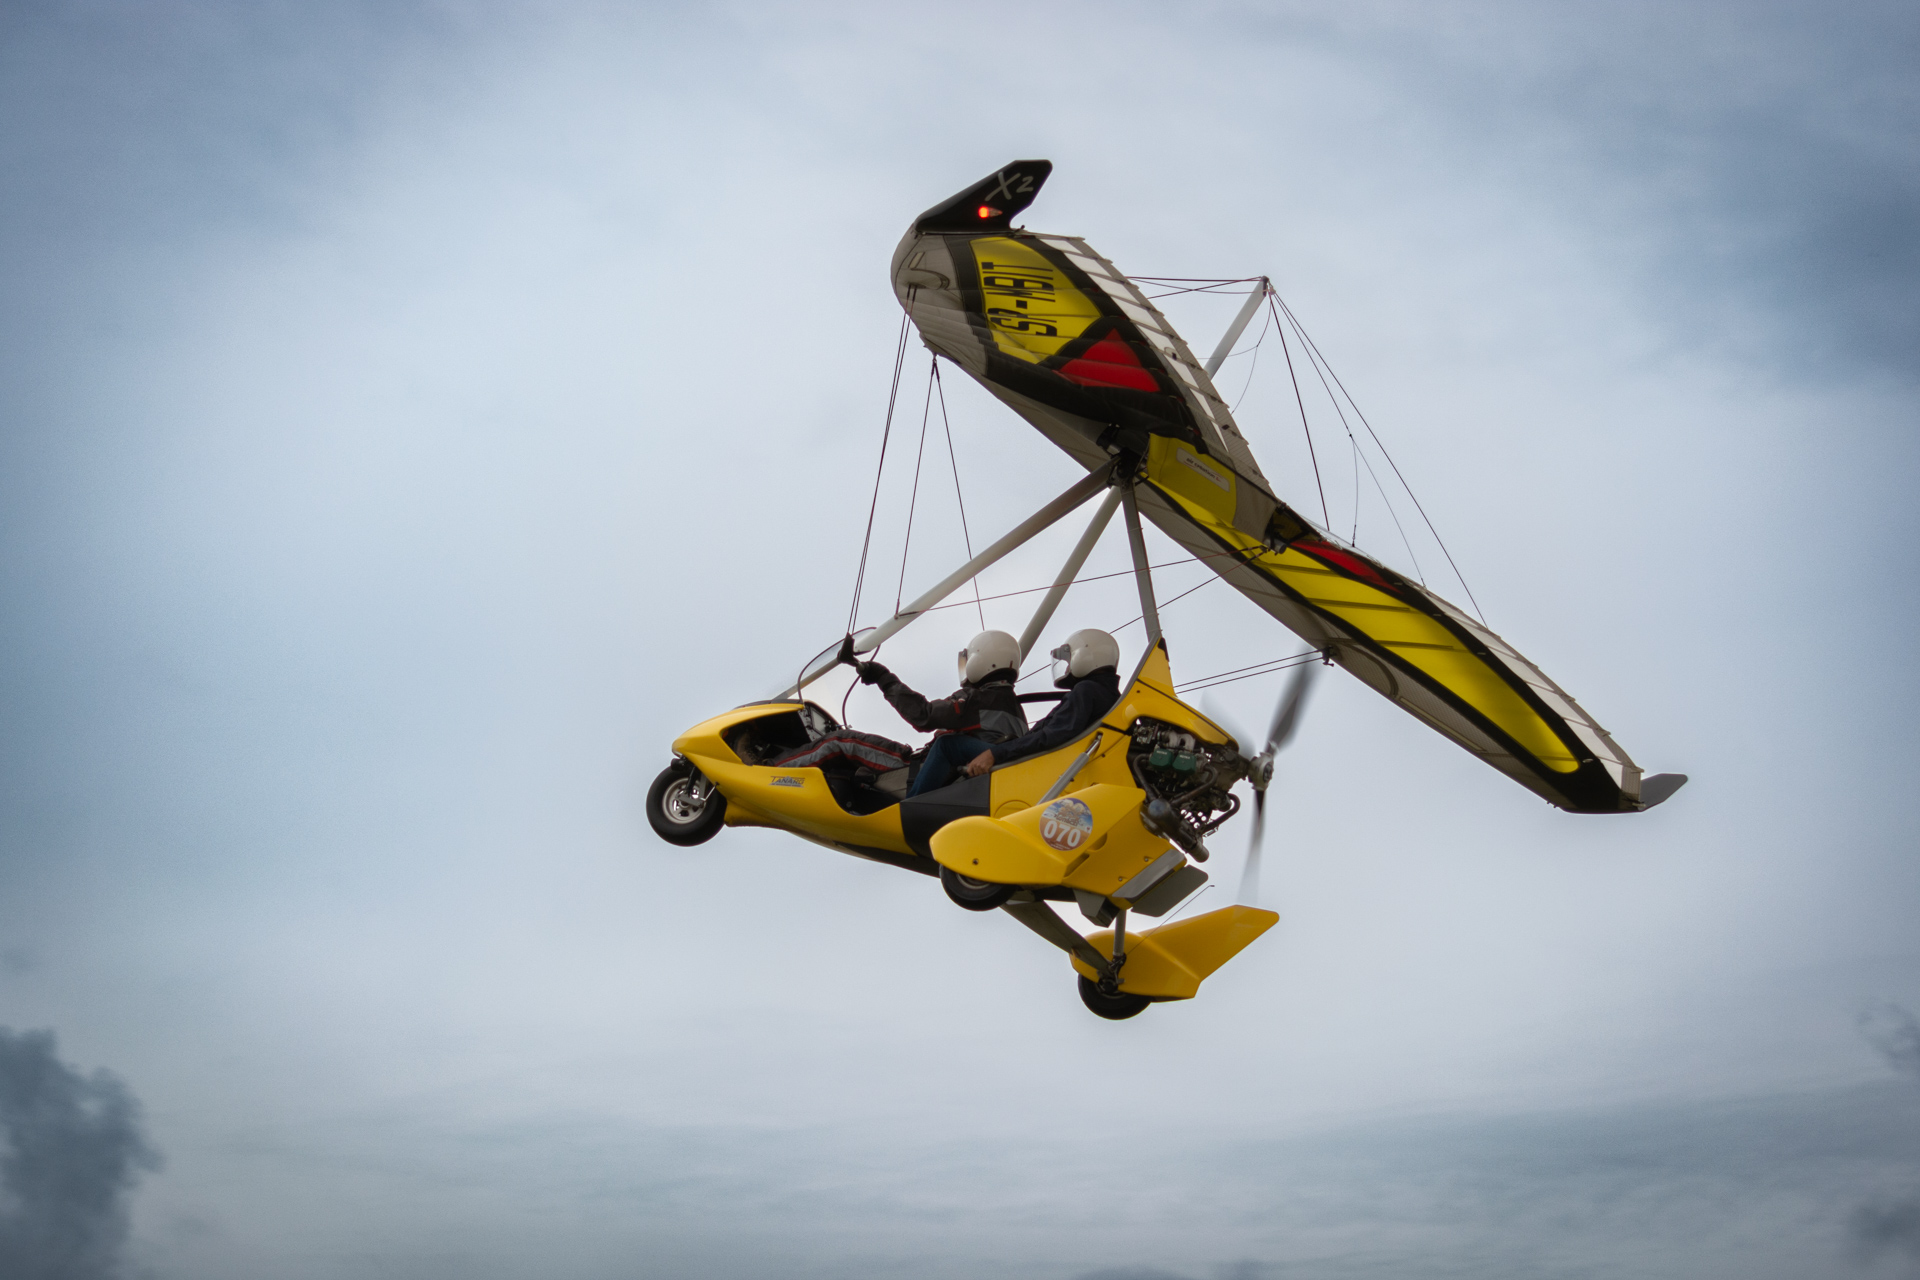
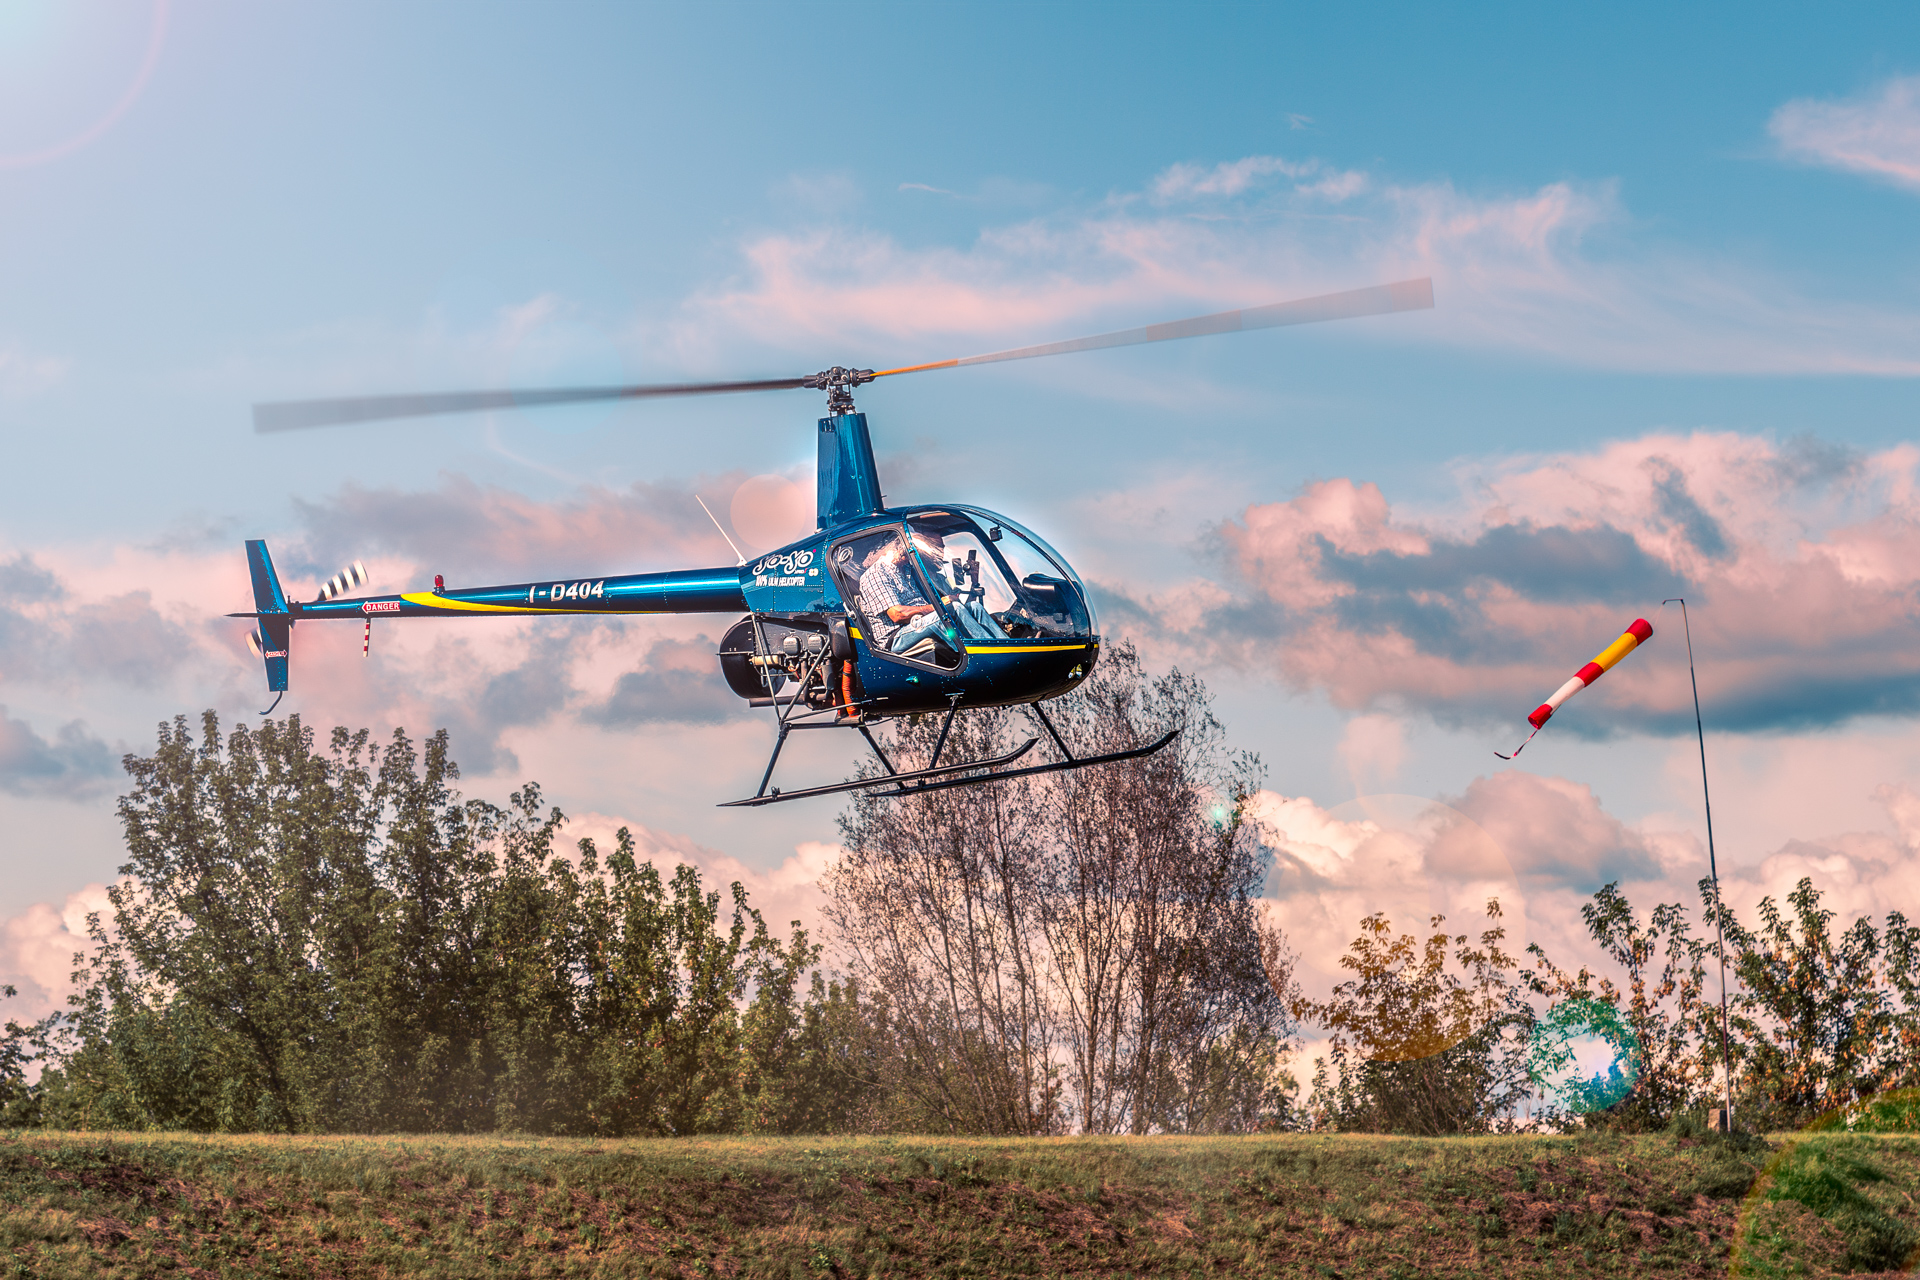
I recently attended a local event organized by an ultralight trike enthusiast. It wasn’t flashy — but it was packed with character. Colorful microlights and small planes took off from a grassy strip surrounded by trees, giving the whole show a relaxed, DIY charm. For a photographer, it was pure gold.
Whether you’re just learning to photograph motion or want to practice panning and creative blur, these smaller events are incredible photo playgrounds.
✈️ Why Small Air Shows Are a Photographer’s Dream
Big airshows can be thrilling — but they often put photographers at a disadvantage. Crowds, restrictions, and high-speed jets at great distances make it hard to get personal or creative with your shots.
Smaller air shows, on the other hand, offer:
– Closer proximity — You’re often just a few meters from the action.
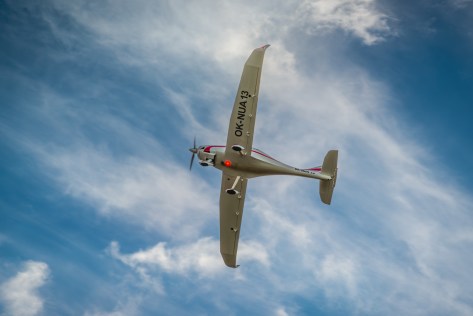
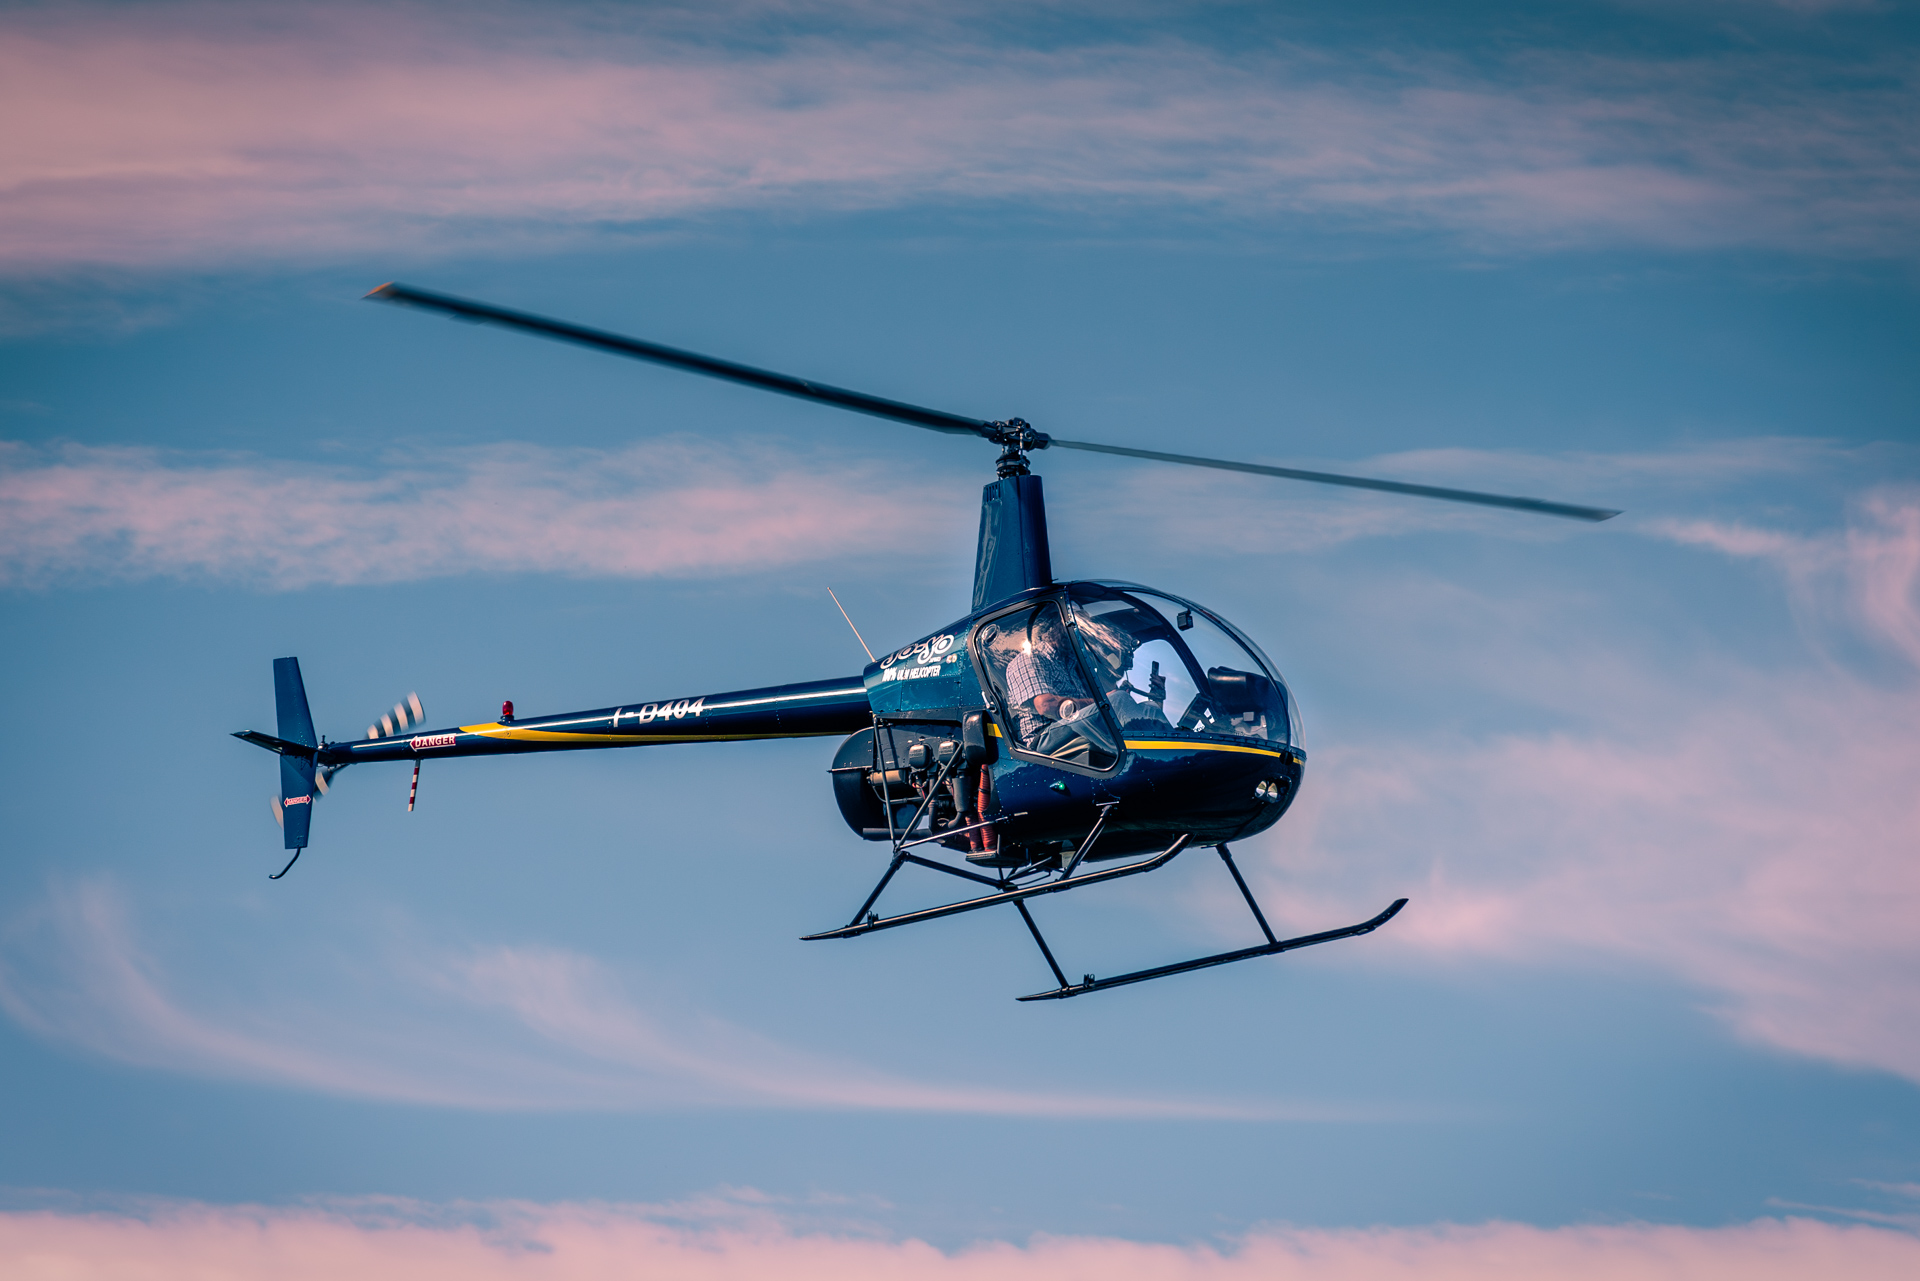
– Unique aircraft — Think ultralight trikes, autogyros, microlights, and other rare or home-built models.
– Slower, lower flights — Makes motion tracking and panning much easier to master.
– A relaxed vibe — Pilots are usually hobbyists too, happy to chat, and there’s no pressure to “get the perfect shot” on a tight schedule.
Whether you’re into aviation photography, event photography, or just testing your gear in real-world scenarios, these grassroots airshows are a fantastic opportunity.
📷 Recommended Gear for Air Show Photography
Don’t worry about having the latest or most expensive gear. Focus on versatility and mobility.
– Telephoto zoom (70–200mm or 100–400mm) — Great for capturing airborne aircraft from a distance.
– Standard zoom (24–70mm) — Ideal for crowd scenes, pilot portraits, and aircraft details on the ground.
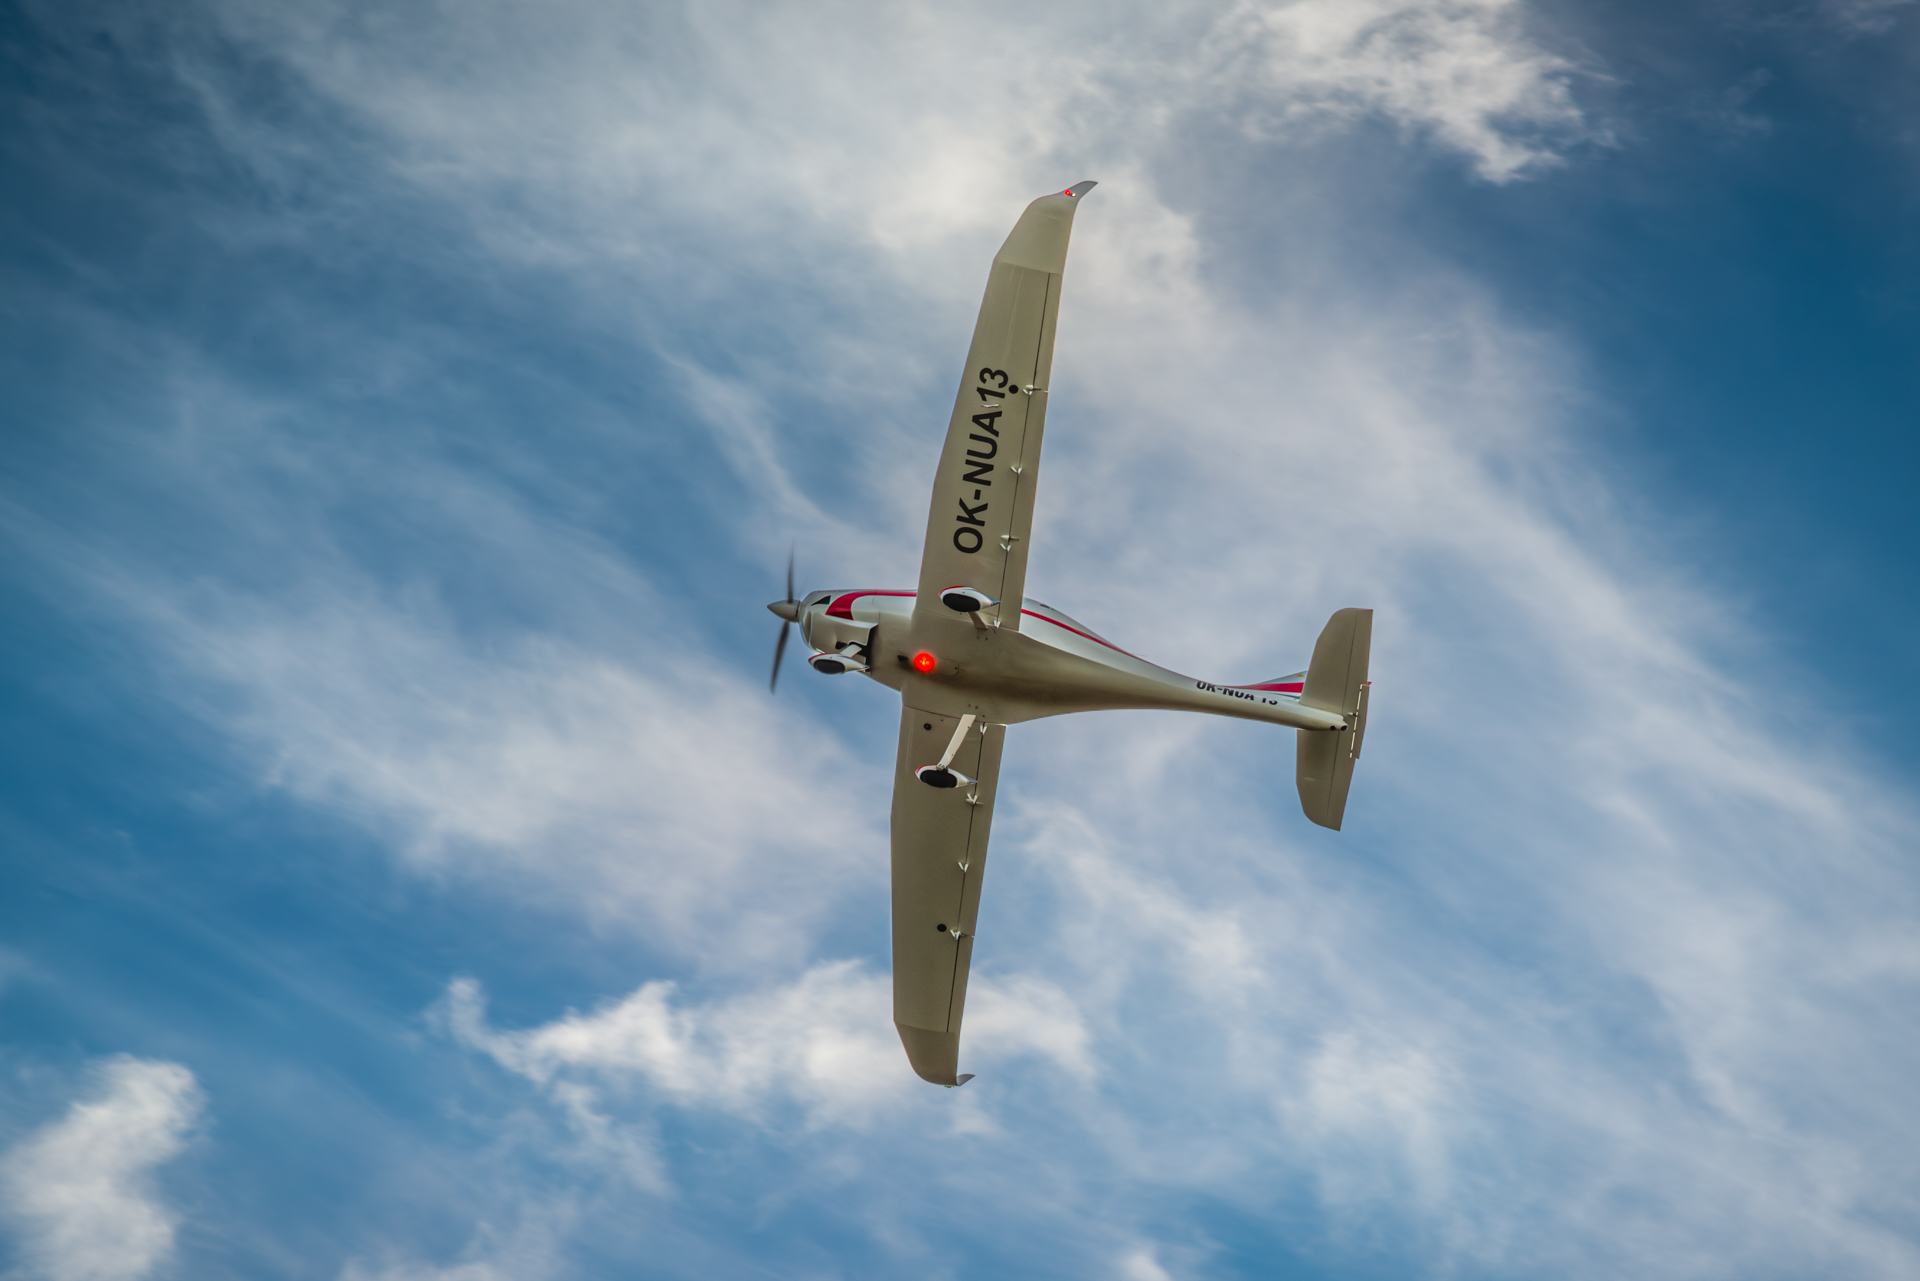
– Fast shutter speeds (1/1000s and up) — Perfect for freezing action, especially propellers.
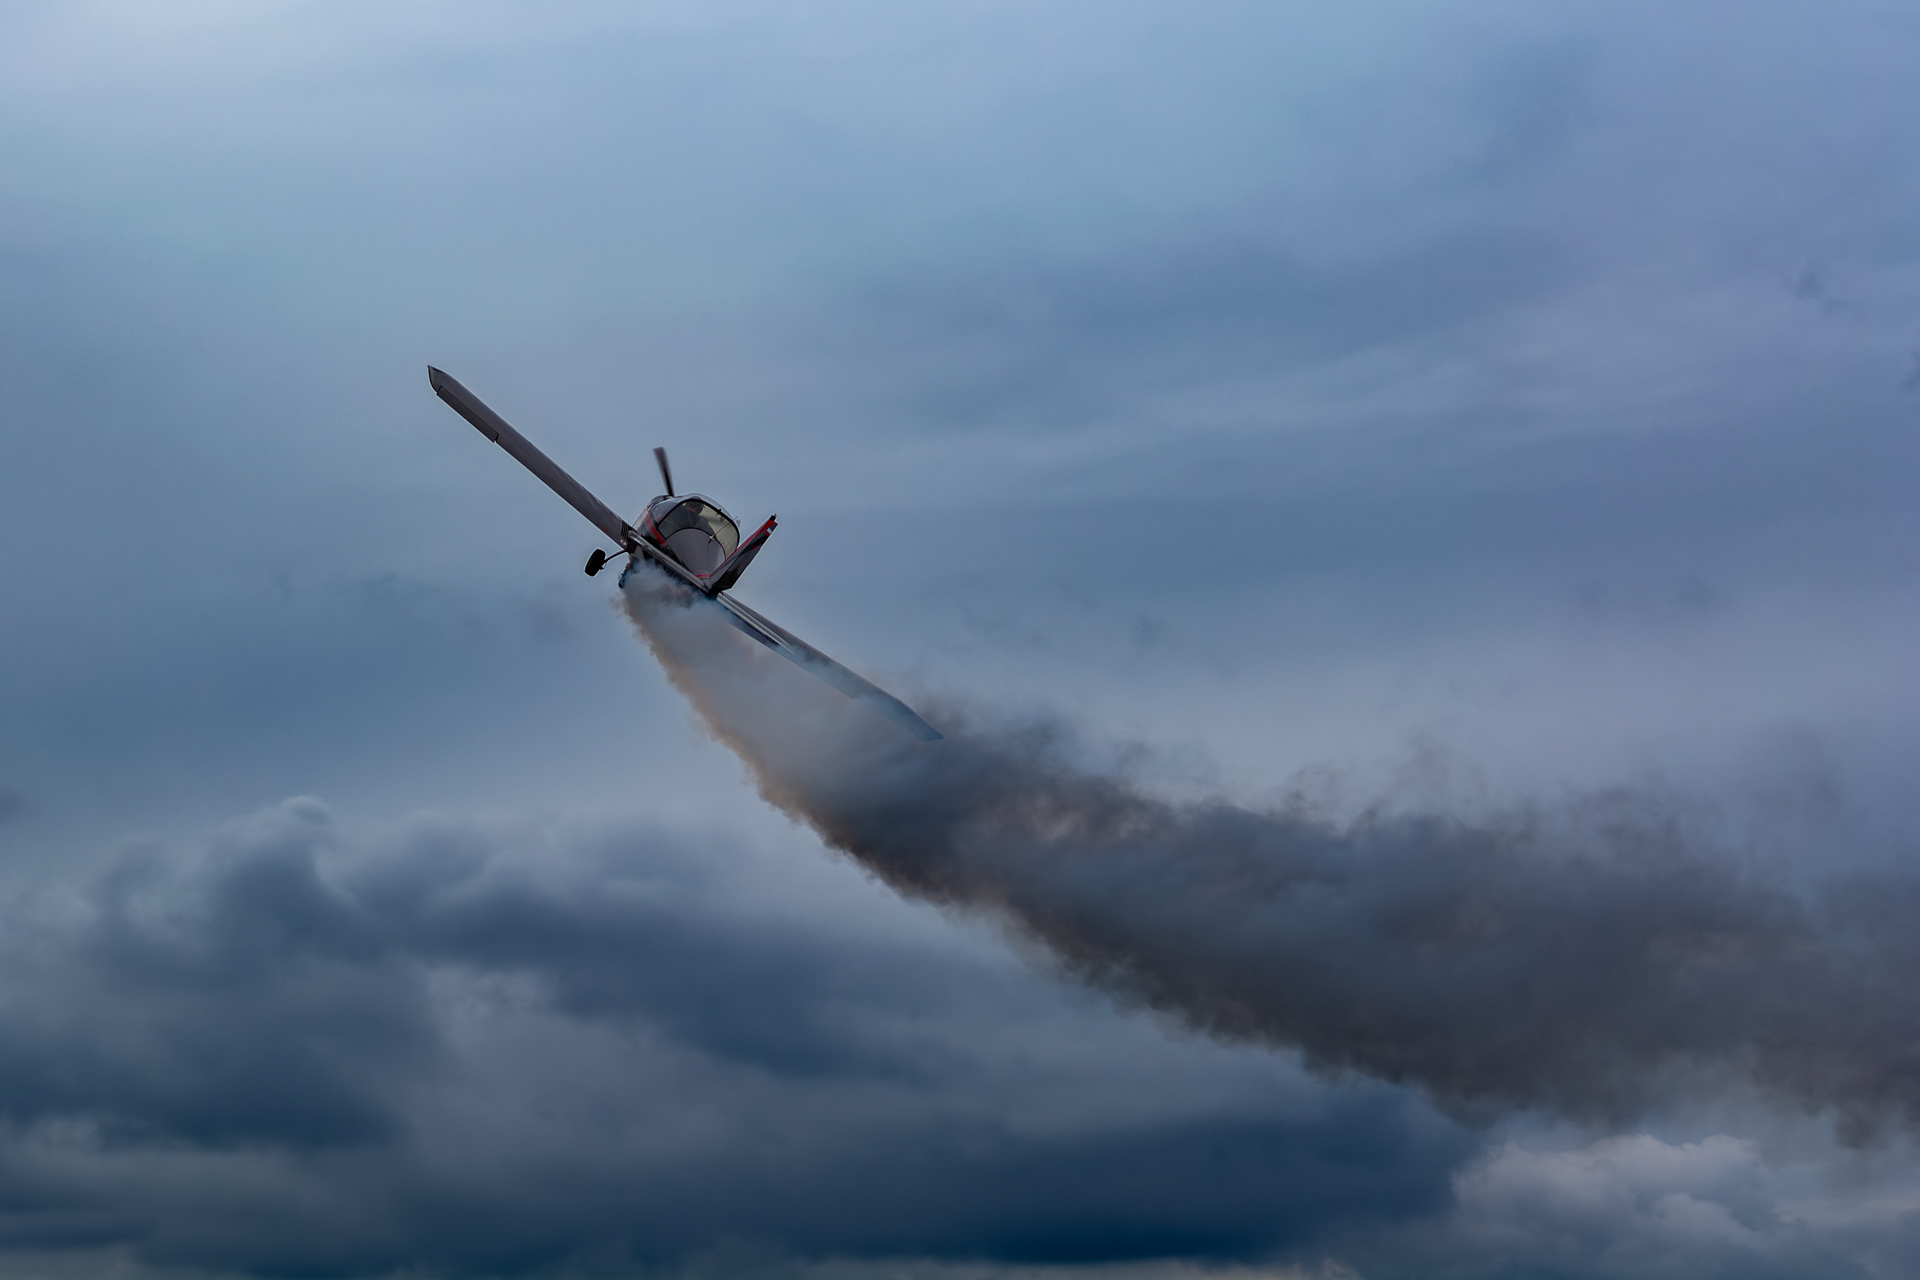
– Slower shutter speeds (1/60s–1/250s) — Use these for panning shots that blur the background and convey motion.
– Image stabilization (IBIS or lens-based) — Helps immensely when shooting handheld.
– A monopod (optional) — Great for comfort during long sessions without sacrificing mobility.
A tripod is usually more hindrance than help at fast-paced air shows — you’ll want the freedom to move quickly and reframe often.
🎯 Mastering Panning: Capture Motion Like a Pro
Panning is one of the best techniques for dynamic aviation photography, and small shows are the perfect place to practice.
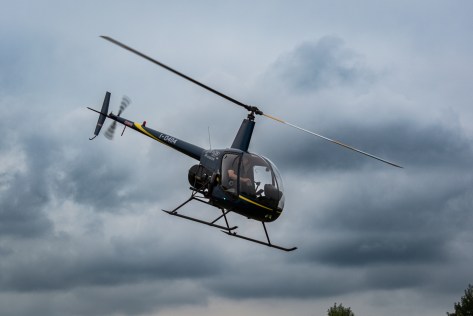
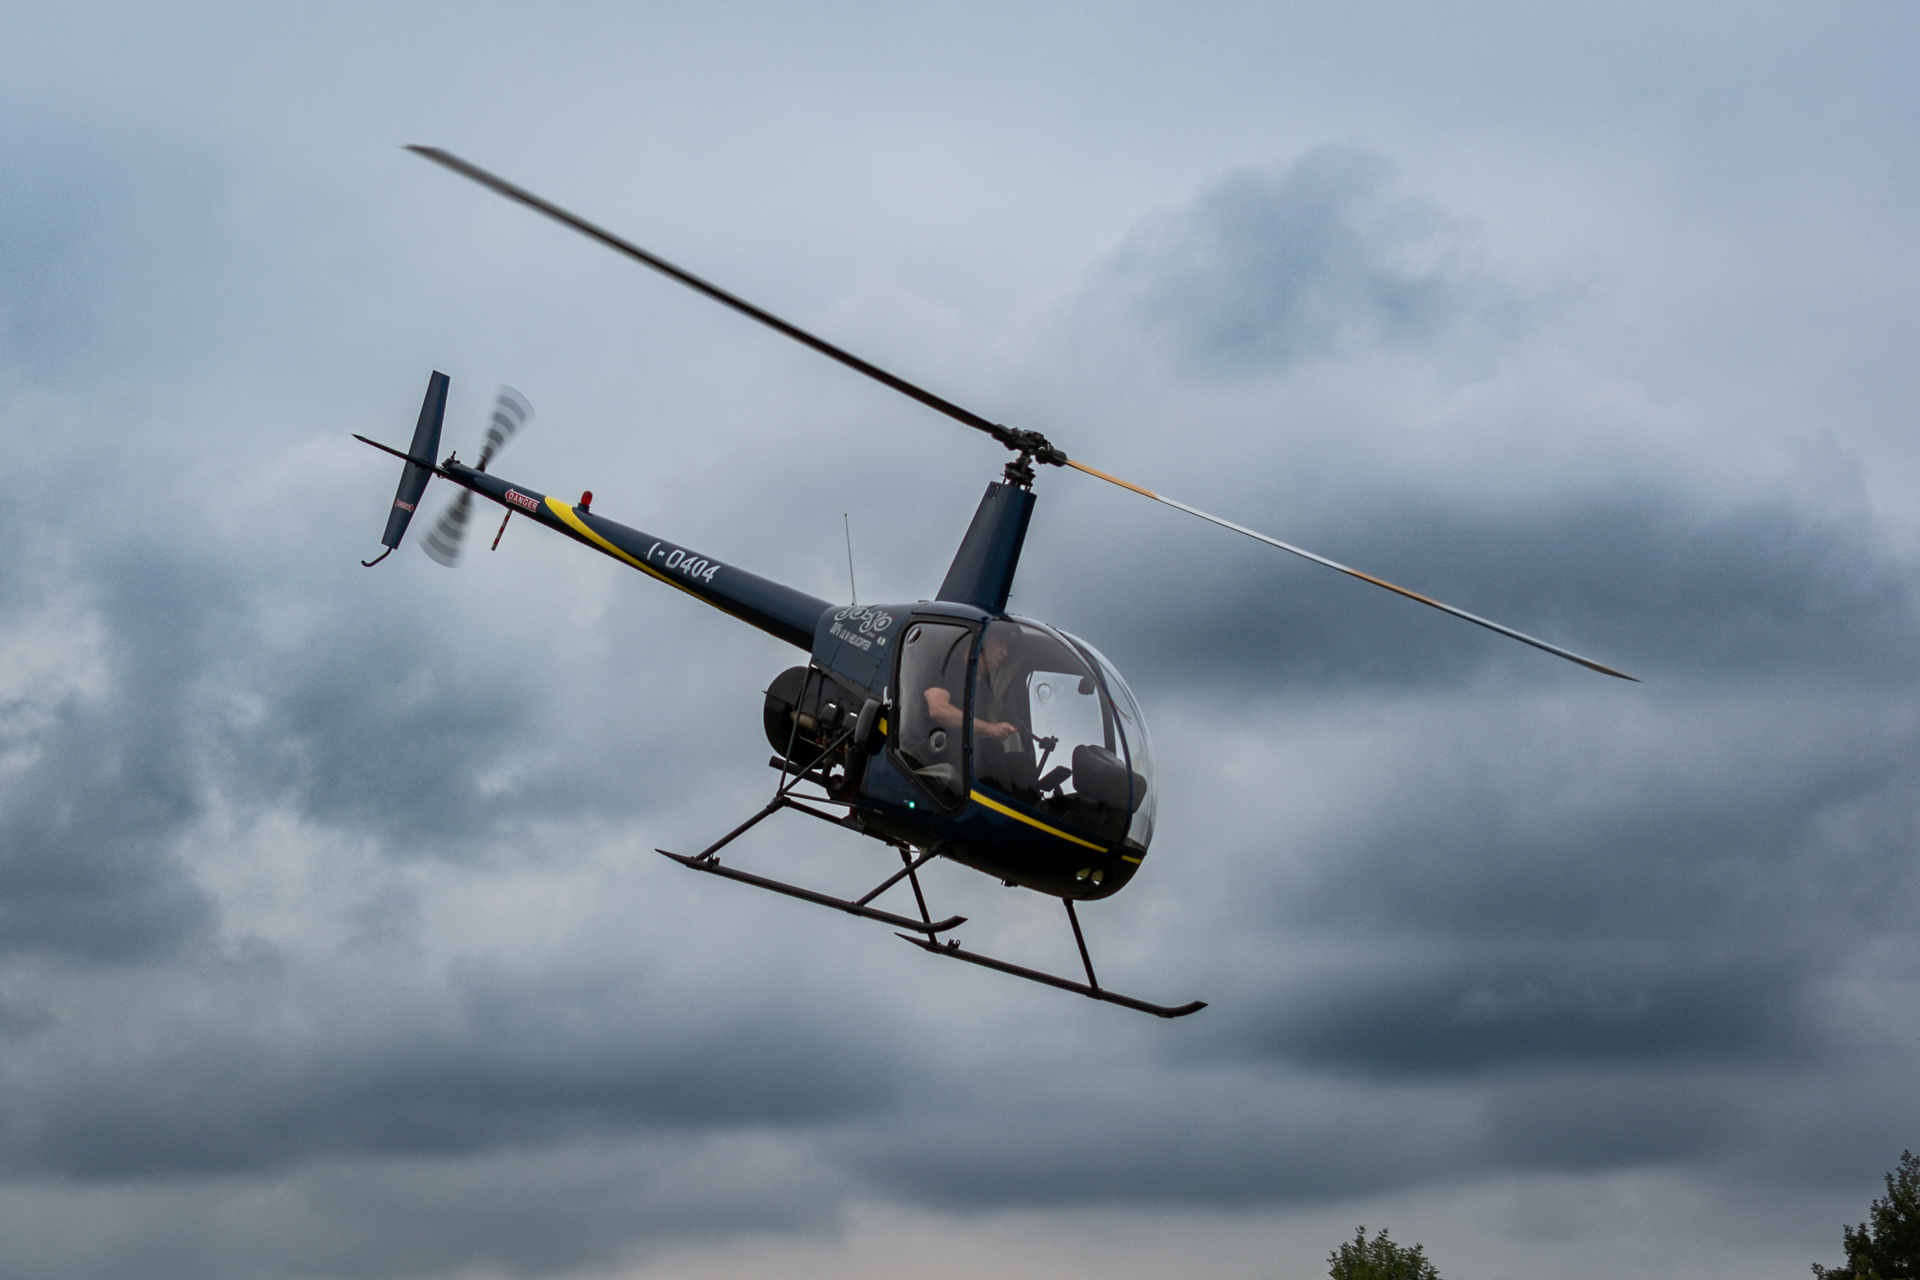
Start with a shutter speed of around 1/125s, and experiment with slower speeds as you improve. Helicopters and ultralights move slower than jets, giving you more margin for error.
Use continuous autofocus (AI Servo / AF-C) with a single focus point. Track the aircraft smoothly through your frame, twisting at the waist rather than just moving your arms.
Shoot in burst mode, but keep sequences short to avoid filling your buffer too quickly.
Pro tip: For great propeller blur, stay between 1/160s and 1/320s — just fast enough to avoid camera shake, but slow enough to show motion.

🖥️ Editing Workflow: Make Your Shots Soar
In Camera Raw (or Lightroom):
– Profile: Try Adobe Landscape or Camera Vivid for extra punch, especially in the sky.
– Light adjustments: Pull down highlights to recover sky detail, and lift shadows to reveal aircraft shapes.
– Color panel: Subtle vibrance boosts work well for colorful planes without overdoing it.
– Masks: Use sky masking to enhance cloud contrast or apply a gradient to deepen the horizon tones.
In Photoshop:
– Subject isolation: Use Select Subject or Select and Mask to work separately on the aircraft and the background.
– Background blur: Add depth by applying Path Blur (Filter > Blur Gallery) to the background only.
– Sharpening: Use a High Pass layer set to Soft Light for crisp aircraft detail.
– Cleanup: Clone out distractions like fencing, signage, or out-of-place people that pull the eye.
These edits can transform a good shot into one that looks like it came from an airshow magazine.
🧠 Final Thoughts: Embrace the Experiment
Small air shows are more than just flying exhibitions — they’re celebrations of passion and ingenuity. Many pilots fly aircraft they’ve built or restored themselves. There’s a certain joy in photographing that spirit — up close, with no red ropes or loudspeakers in the way.
As a hobbyist photographer, this is your chance to try new settings, test motion blur techniques, and connect with real people behind the planes.
So grab your camera, track the motion, play with editing — and don’t be afraid to miss a few shots. The magic is in the trying.
What’s your favorite trick for capturing motion in flight? Drop a tip or question in the comments — and let’s trade stories from the skies!
✨ Skybound Stories: Photo Highlights


Discover more from Shutter and Saddle
Subscribe to get the latest posts sent to your email.
