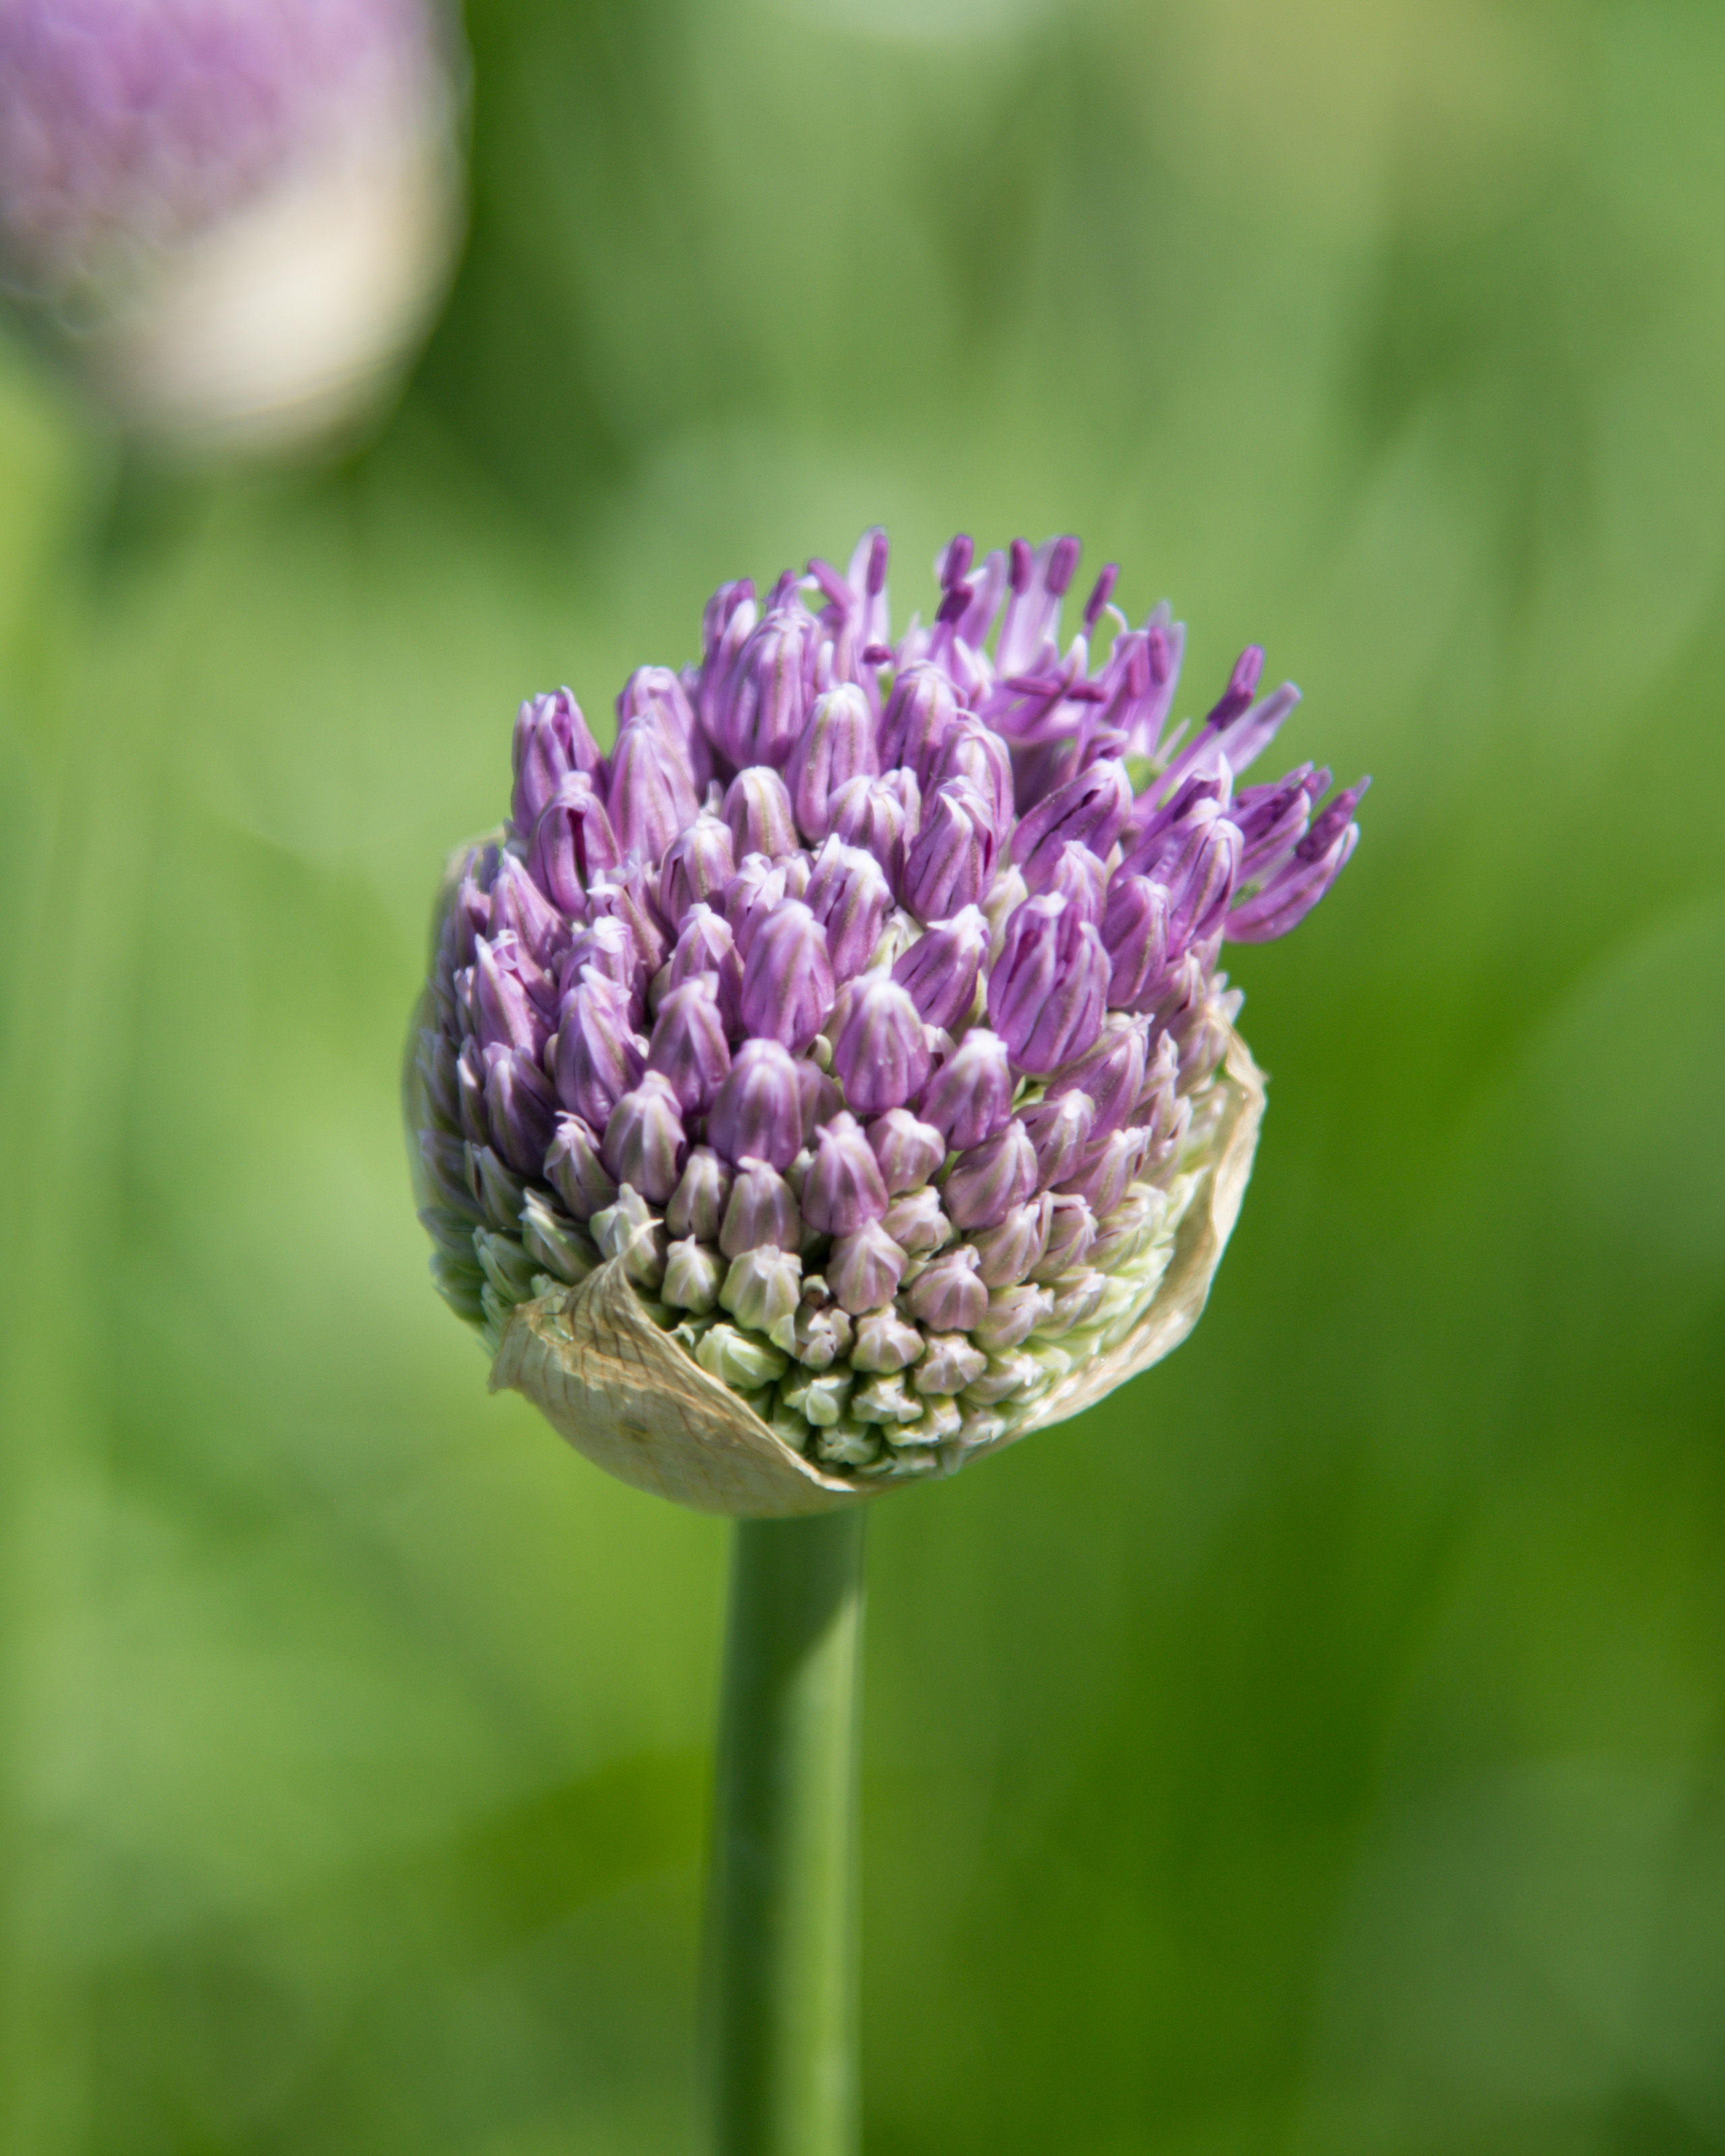
Flower photo before and after Lightroom editing – from flat to vibrant
Whether you’ve just captured a bloom bathed in golden hour light or snapped a bright tulip at noon, editing your flower photos can transform them from simple snapshots into radiant, share-worthy images. In this beginner-friendly guide, I’ll walk you through how I edit flower photos using Lightroom or Camera Raw and add a soft, dreamy Photoshop glow for those magical sunset shots.
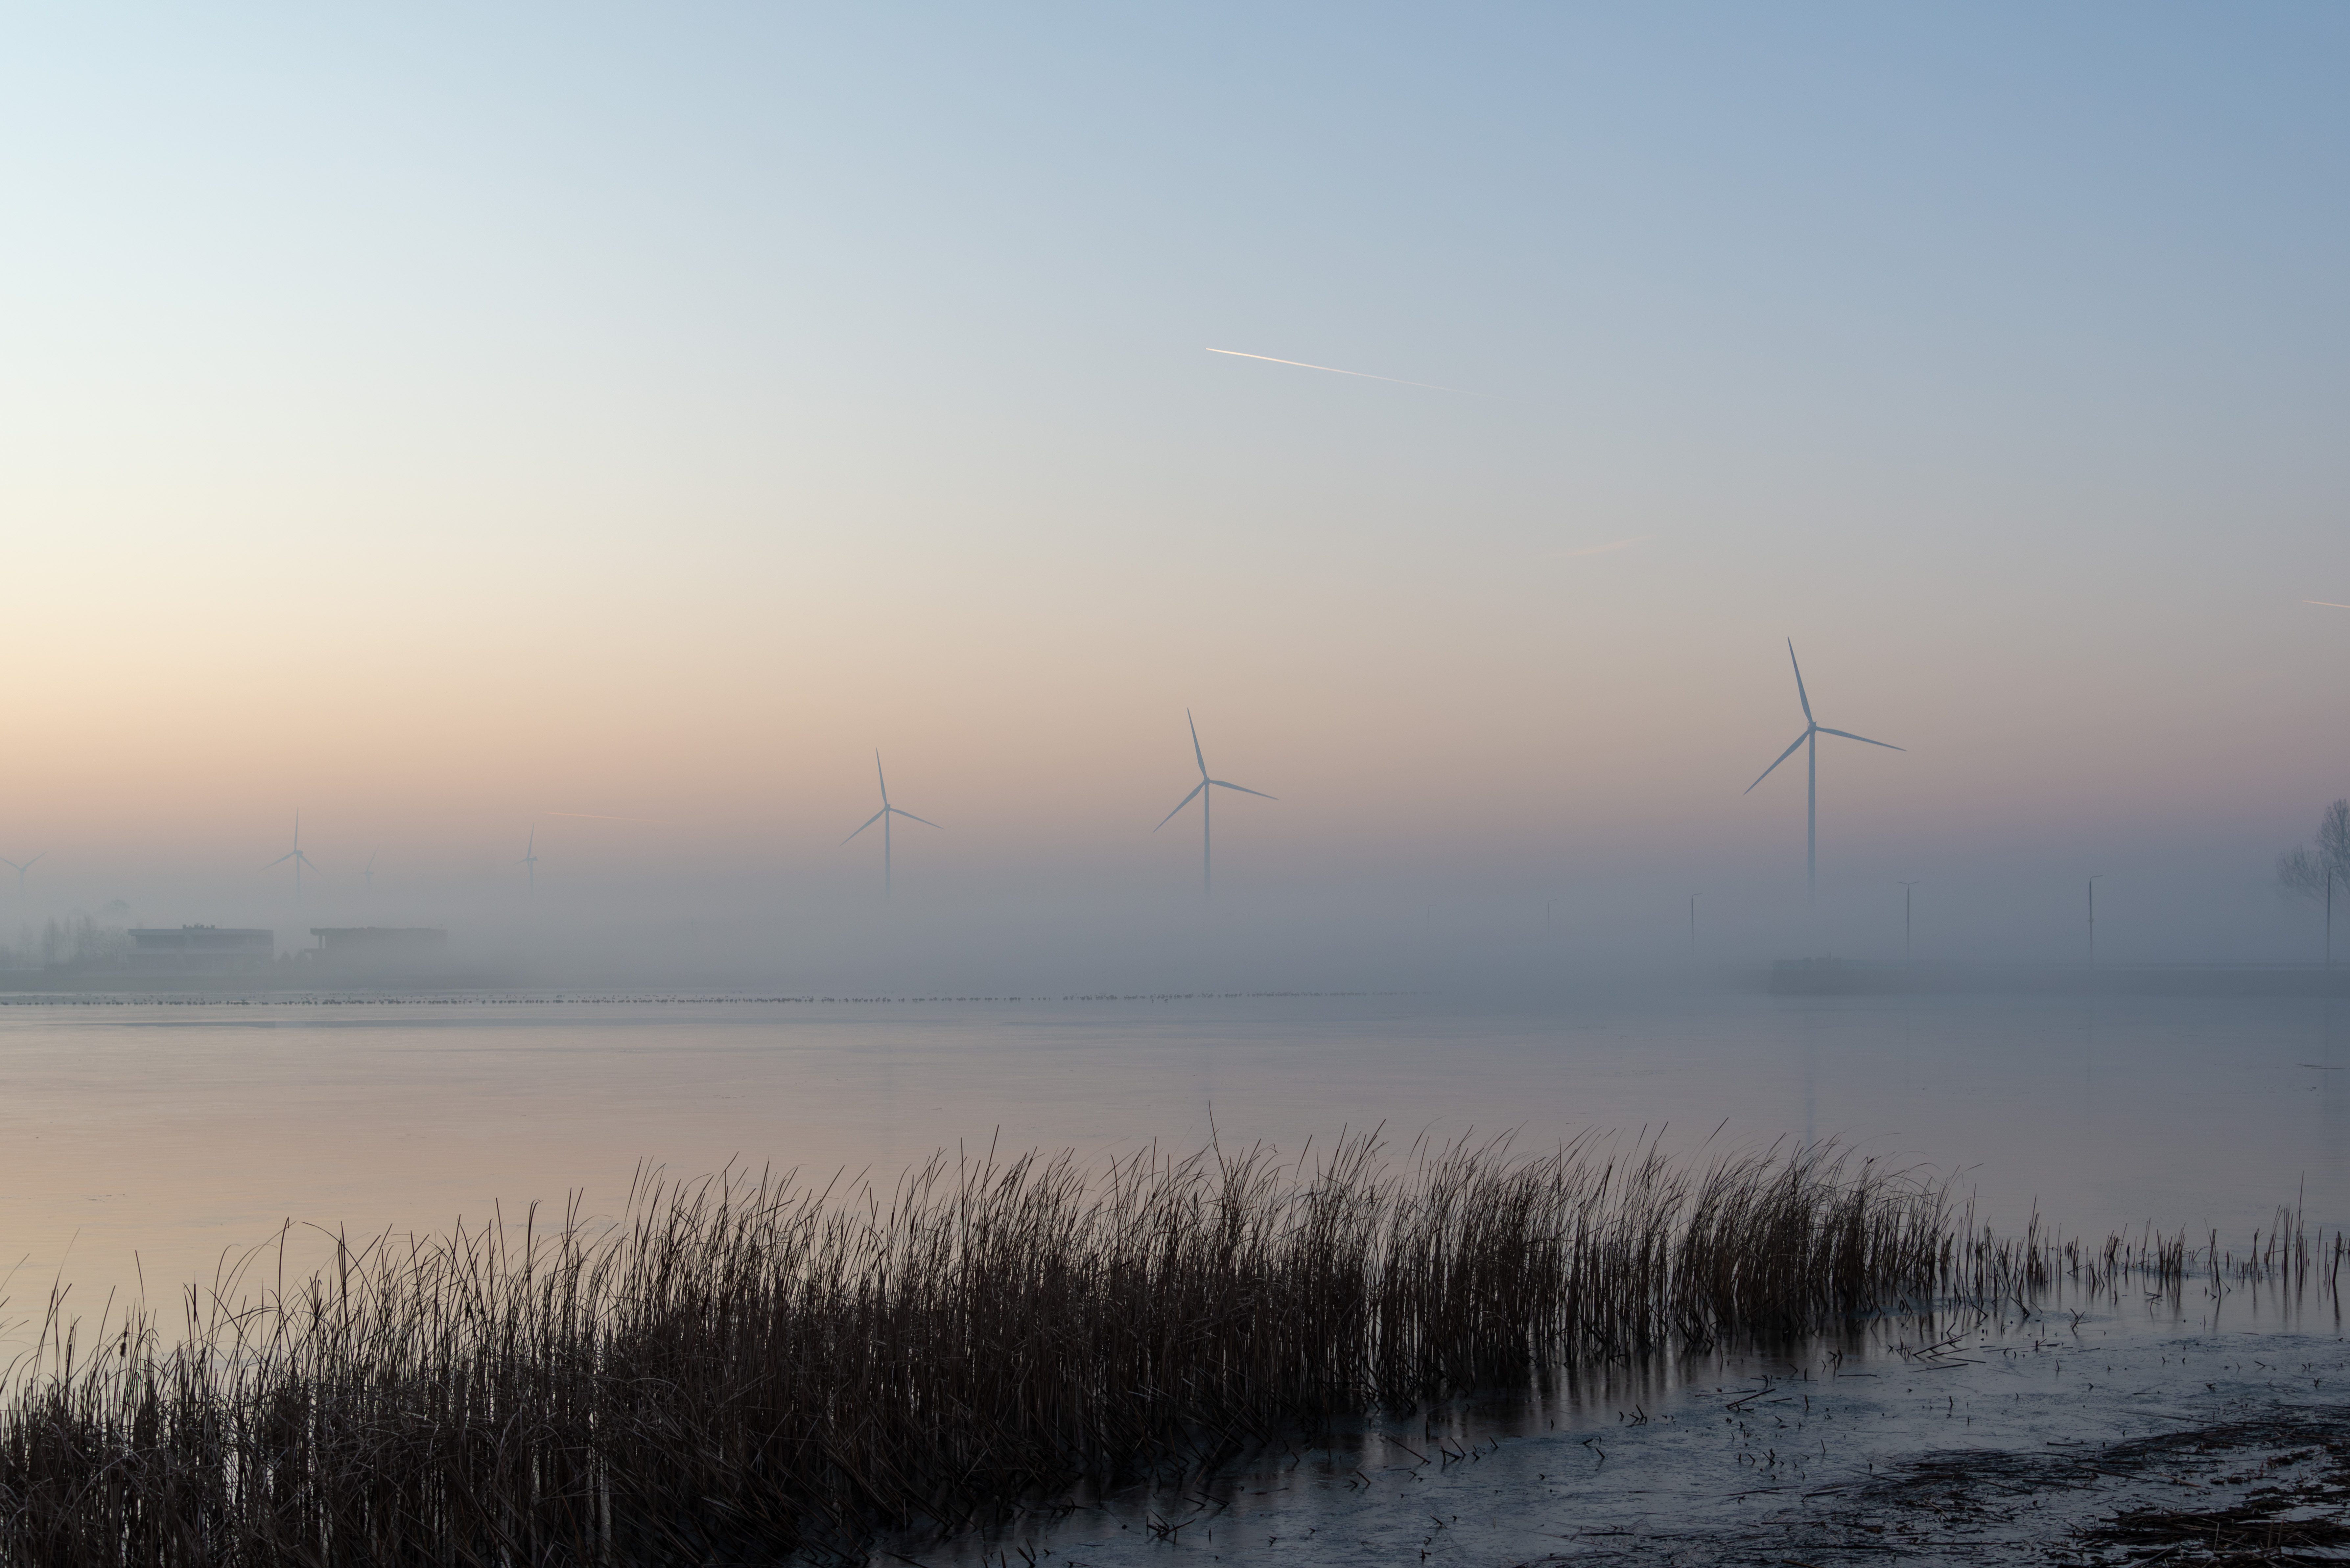
This shot had potential—soft fog, dramatic turbines, and a fading sunset—but it needed careful editing to balance the mood. Here’s how I teased out the magic without losing the atmosphere.
A streamlined import and editing workflow keeps your photos organized and your edits non-destructive. Here’s my step-by-step process for bringing images into Lightroom and prepping them for Photoshop—perfect for single shots or large batches.
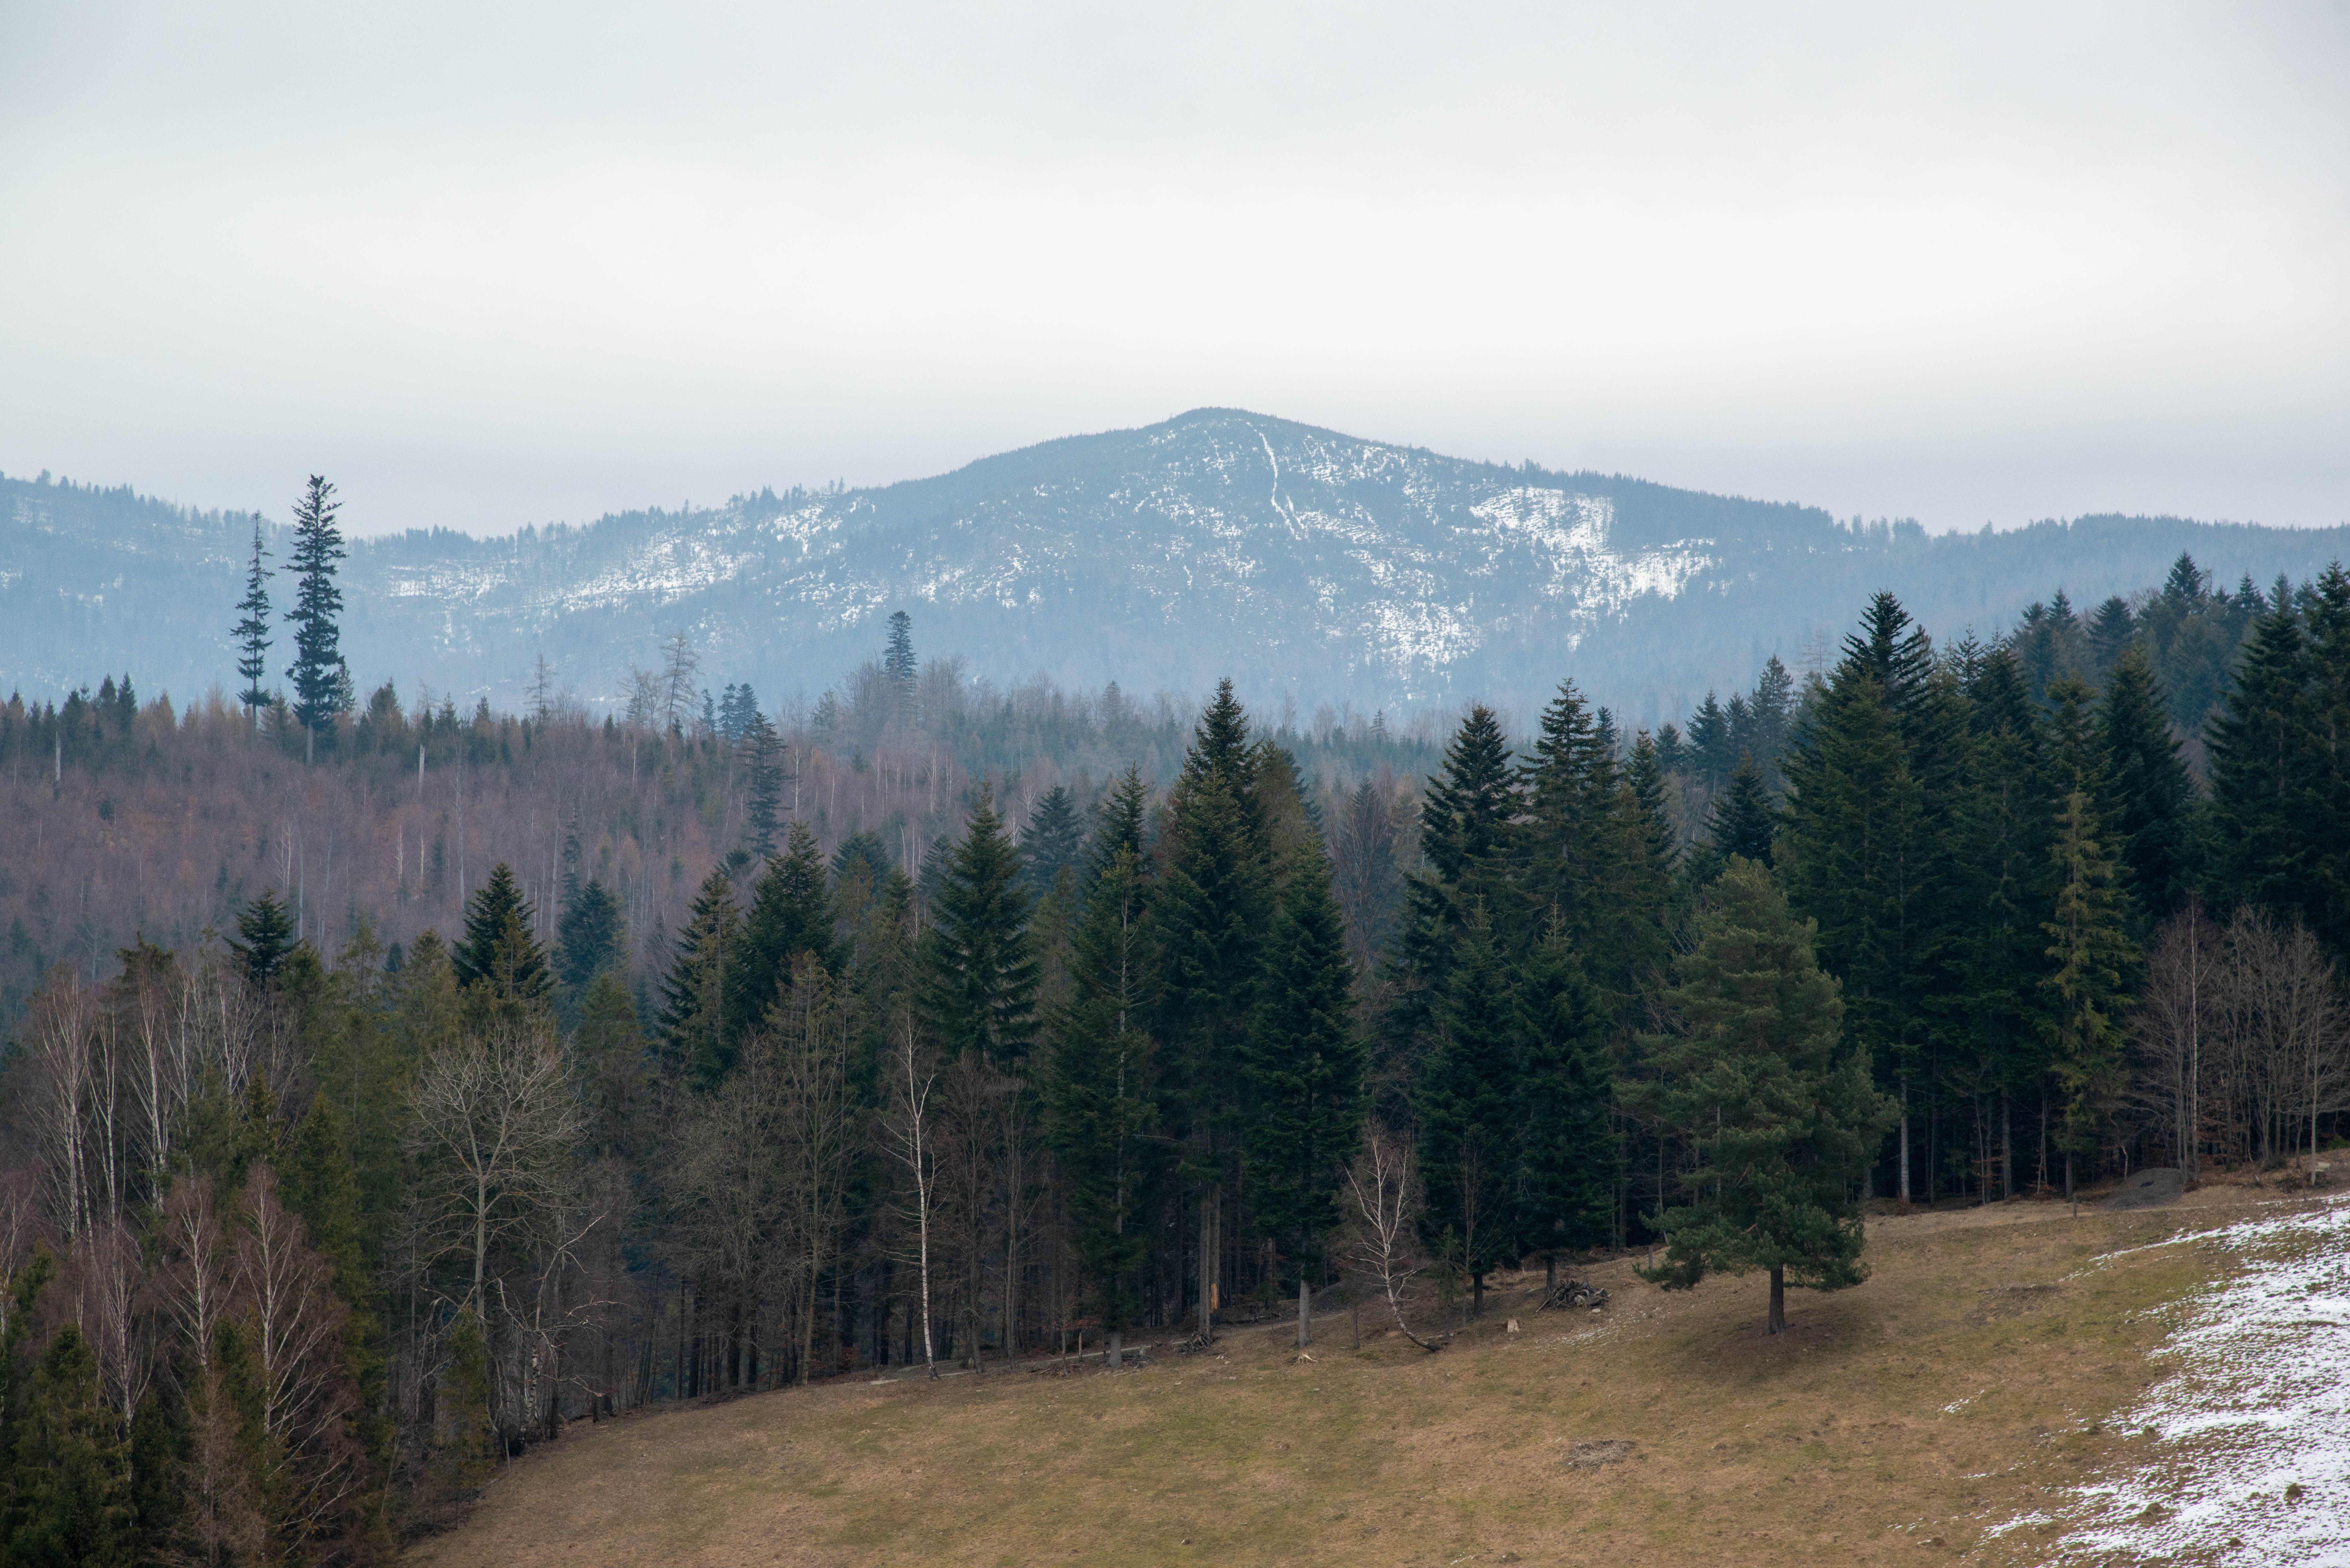
While this RAW file initially looked flat and cold, I saw potential to transform it into a warm winter-to-spring transition scene. My goals? Lift the snow’s subtle textures, reveal hidden details in the trees, and maintain that magical seasonal ‘in-between’ glow—where last winter’s chill gently gives way to spring’s warmth. Here’s my step-by-step edit to achieve that balance.