
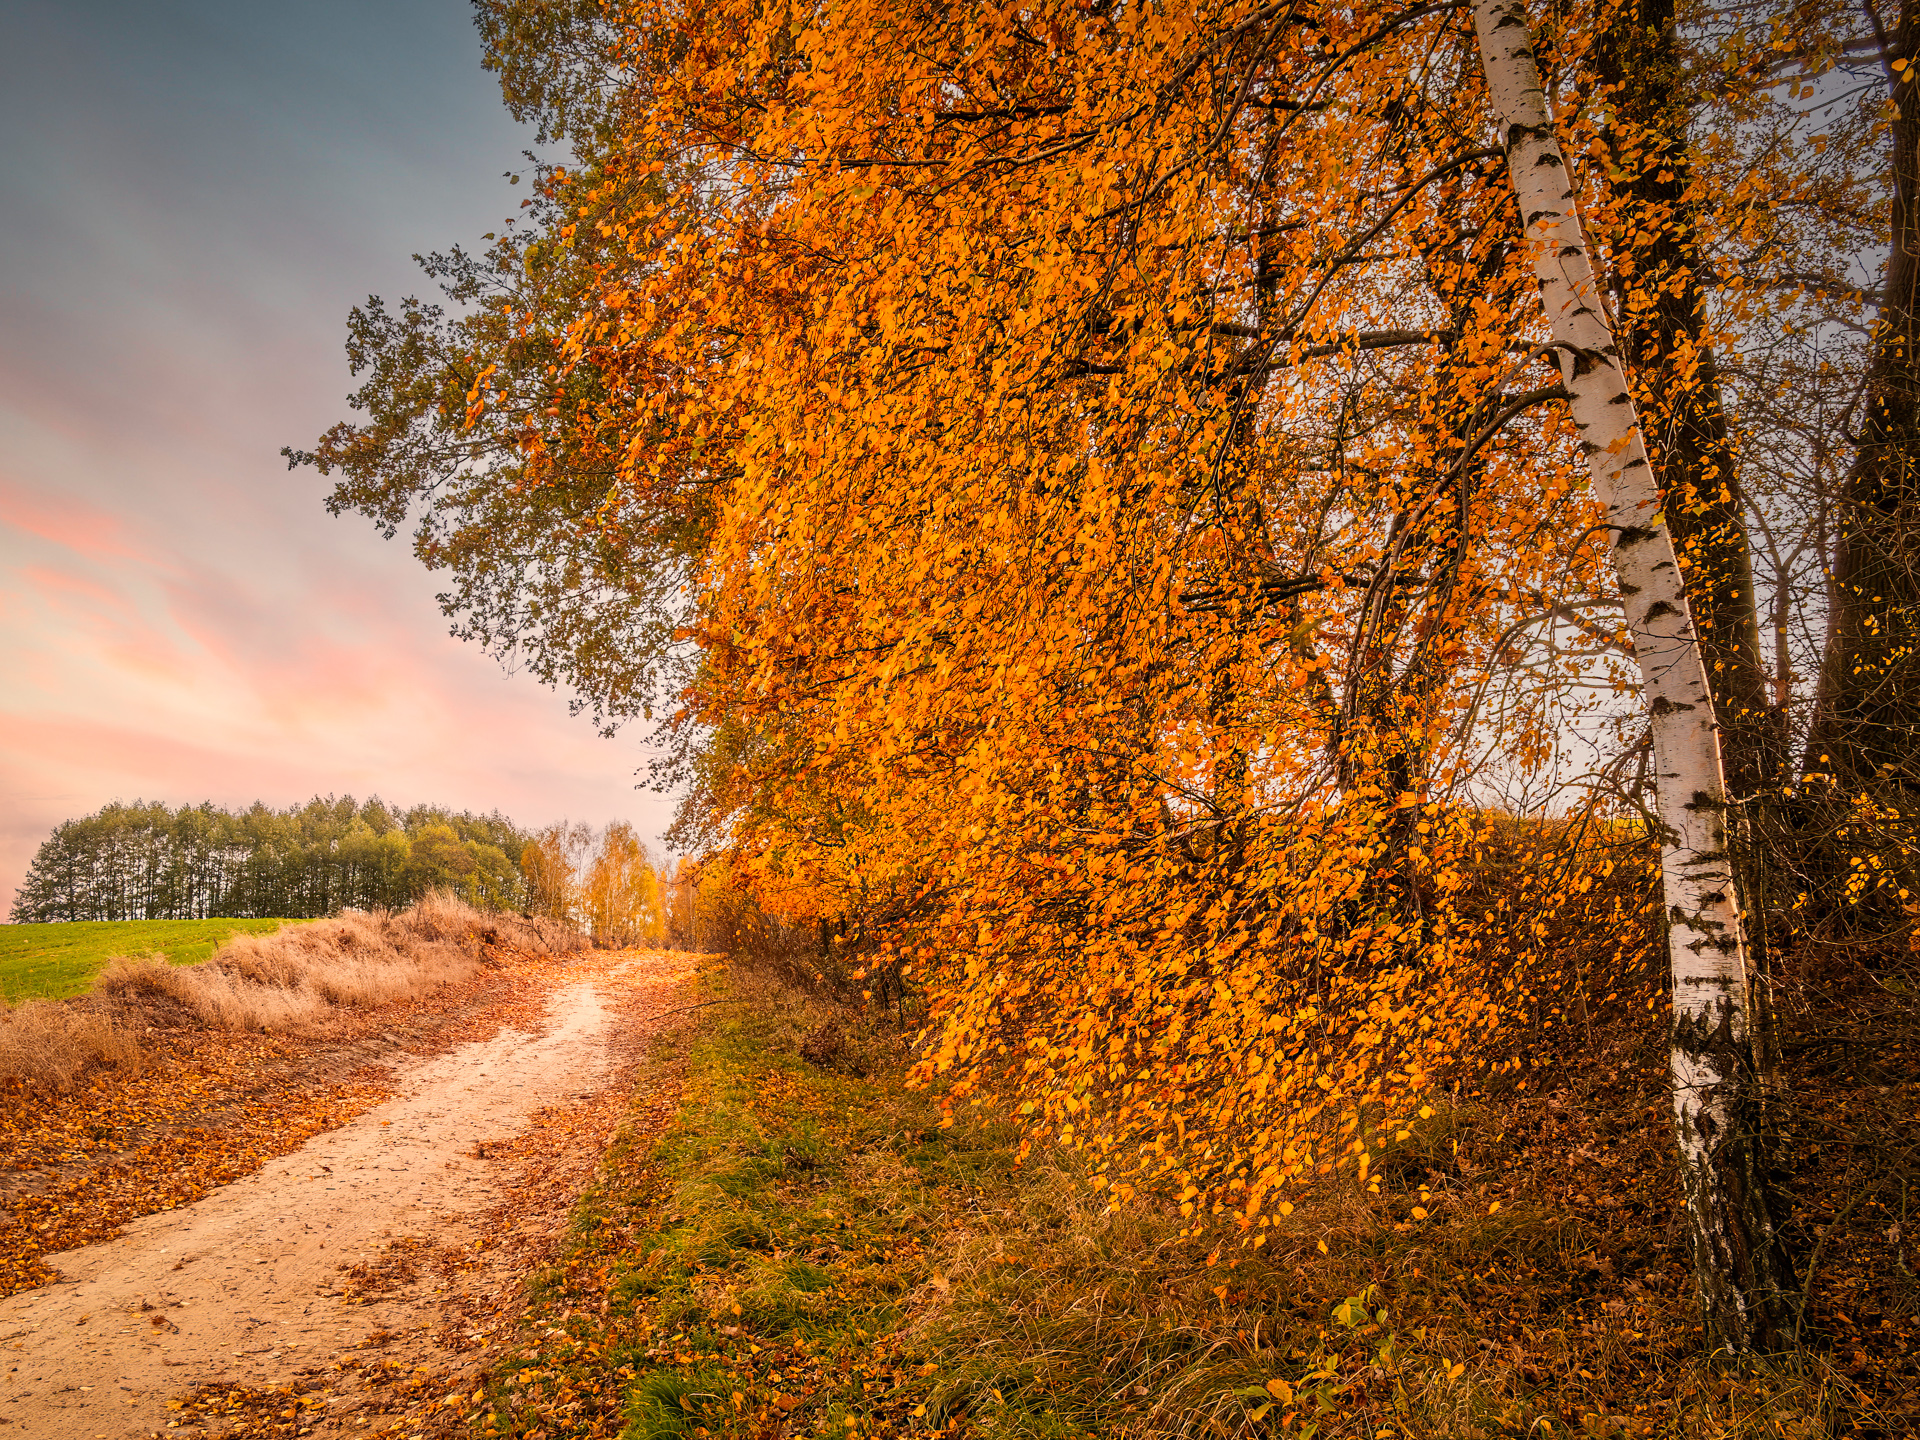
Golden birch leaves glowing along a quiet countryside path at sunset
The light was fading fast. I was just finishing up for the day when the setting sun broke through the clouds, setting the entire path on fire with golden light. I had to act quickly. I recomposed and captured a few frames before the color vanished — a perfect example of autumn’s fleeting beauty, whether you’re out for a ride or a dedicated photo walk.
This scene shows a quiet path winding beneath a canopy of golden birch leaves. My goal was to use the path as a strong leading line, pulling your eye deep into the frame. Notice how the white birch trunks on the right break up the warmth? They are crucial for adding structural contrast.
Post-Processing in Photoshop
The natural light was beautiful, but post-processing in Adobe Photoshop is where the scene’s warmth and depth truly came to life.
Here’s a breakdown of the key steps I took and the visual impact each one had:
- Tonal Foundation with Curves: I started with Curves and Levels. This wasn’t just about brightness; it was about recovering midtone contrast to make the light feel more three-dimensional.
- Selective Color Grading: I gently boosted yellows and reds using adjustment layers. The result? The foliage gained richness and vibrancy without looking artificial. To balance this, I introduced subtle cool tones into the shadows.
- Sharpening for Texture: A High Pass filter on a Soft Light layer made the rough texture of the birch bark and the delicate veins in the leaves stand out clearly.
- Shaping the Light: I used Dodging and Burning to accentuate the glow on the path and add depth to the tree line, making the light appear to fall more naturally.
- Final Anchoring Touches: A soft vignette and final color balance ensured the path remained the undeniable focal point, guiding the viewer’s eye and preventing it from wandering.
3 Practical Tips You Can Use
Want to apply these techniques? Here’s how to start:
- Find Your Line: Use natural elements like paths or fallen branches to guide the viewer’s eye.
- Color Grade with Precision: Enhance only warm tones with Selective Color masks to avoid oversaturating the entire image. For a complete walkthrough, see my guide on Enhancing Golden Autumn Photos in Photoshop — and a Few Tips for Lightroom Users.
- Add Depth with a Vignette: A subtle darkening around the edges keeps the focus on your subject. To learn more about creating depth in your compositions, check out my Composition and Editing Workshop: Balancing a Landscape’s Layers.
This scene is a reminder that a simple path can become extraordinary with the right light and a thoughtful edit.
✨ Let’s share and inspire! What’s the one autumn photography challenge you face most often — is it finding the right light, nailing the colors in editing, or something else? Tell me about your experience in the comments!
Discover more from Shutter and Saddle
Subscribe to get the latest posts sent to your email.

Thanks for sharing your thoughts. Very insightful and thought-provoking.
LikeLike
I found this article quite helpful. Looking forward to more content like this.
LikeLiked by 1 person
Appreciate the effort put into this. It’s always good to see quality content.
LikeLiked by 1 person
Gorgeous, Mike. Beautiful balance of warmer and cooler tones.
LikeLiked by 1 person
Thanks, Mitch! I enjoyed playing with that warm/cool contrast – it’s one of my favorite parts of editing scenes like this.
LikeLiked by 1 person
Beautiful photography and it’s nice you share your process. Great job 👍🏻
LikeLiked by 1 person
Thanks a lot! Happy you liked both the photo and the process behind it.
LikeLiked by 1 person
Absolutely did!!
LikeLiked by 1 person